Keeping your vehicle's surface smooth and contaminant-free is essential for maintaining its shine and overall health. One of the most effective tools for this is the clay mitt, a convenient alternative to traditional clay bars. In this guide, we'll walk you through how to use a clay mitt to achieve professional results with minimal effort.
What is a Clay Mitt?
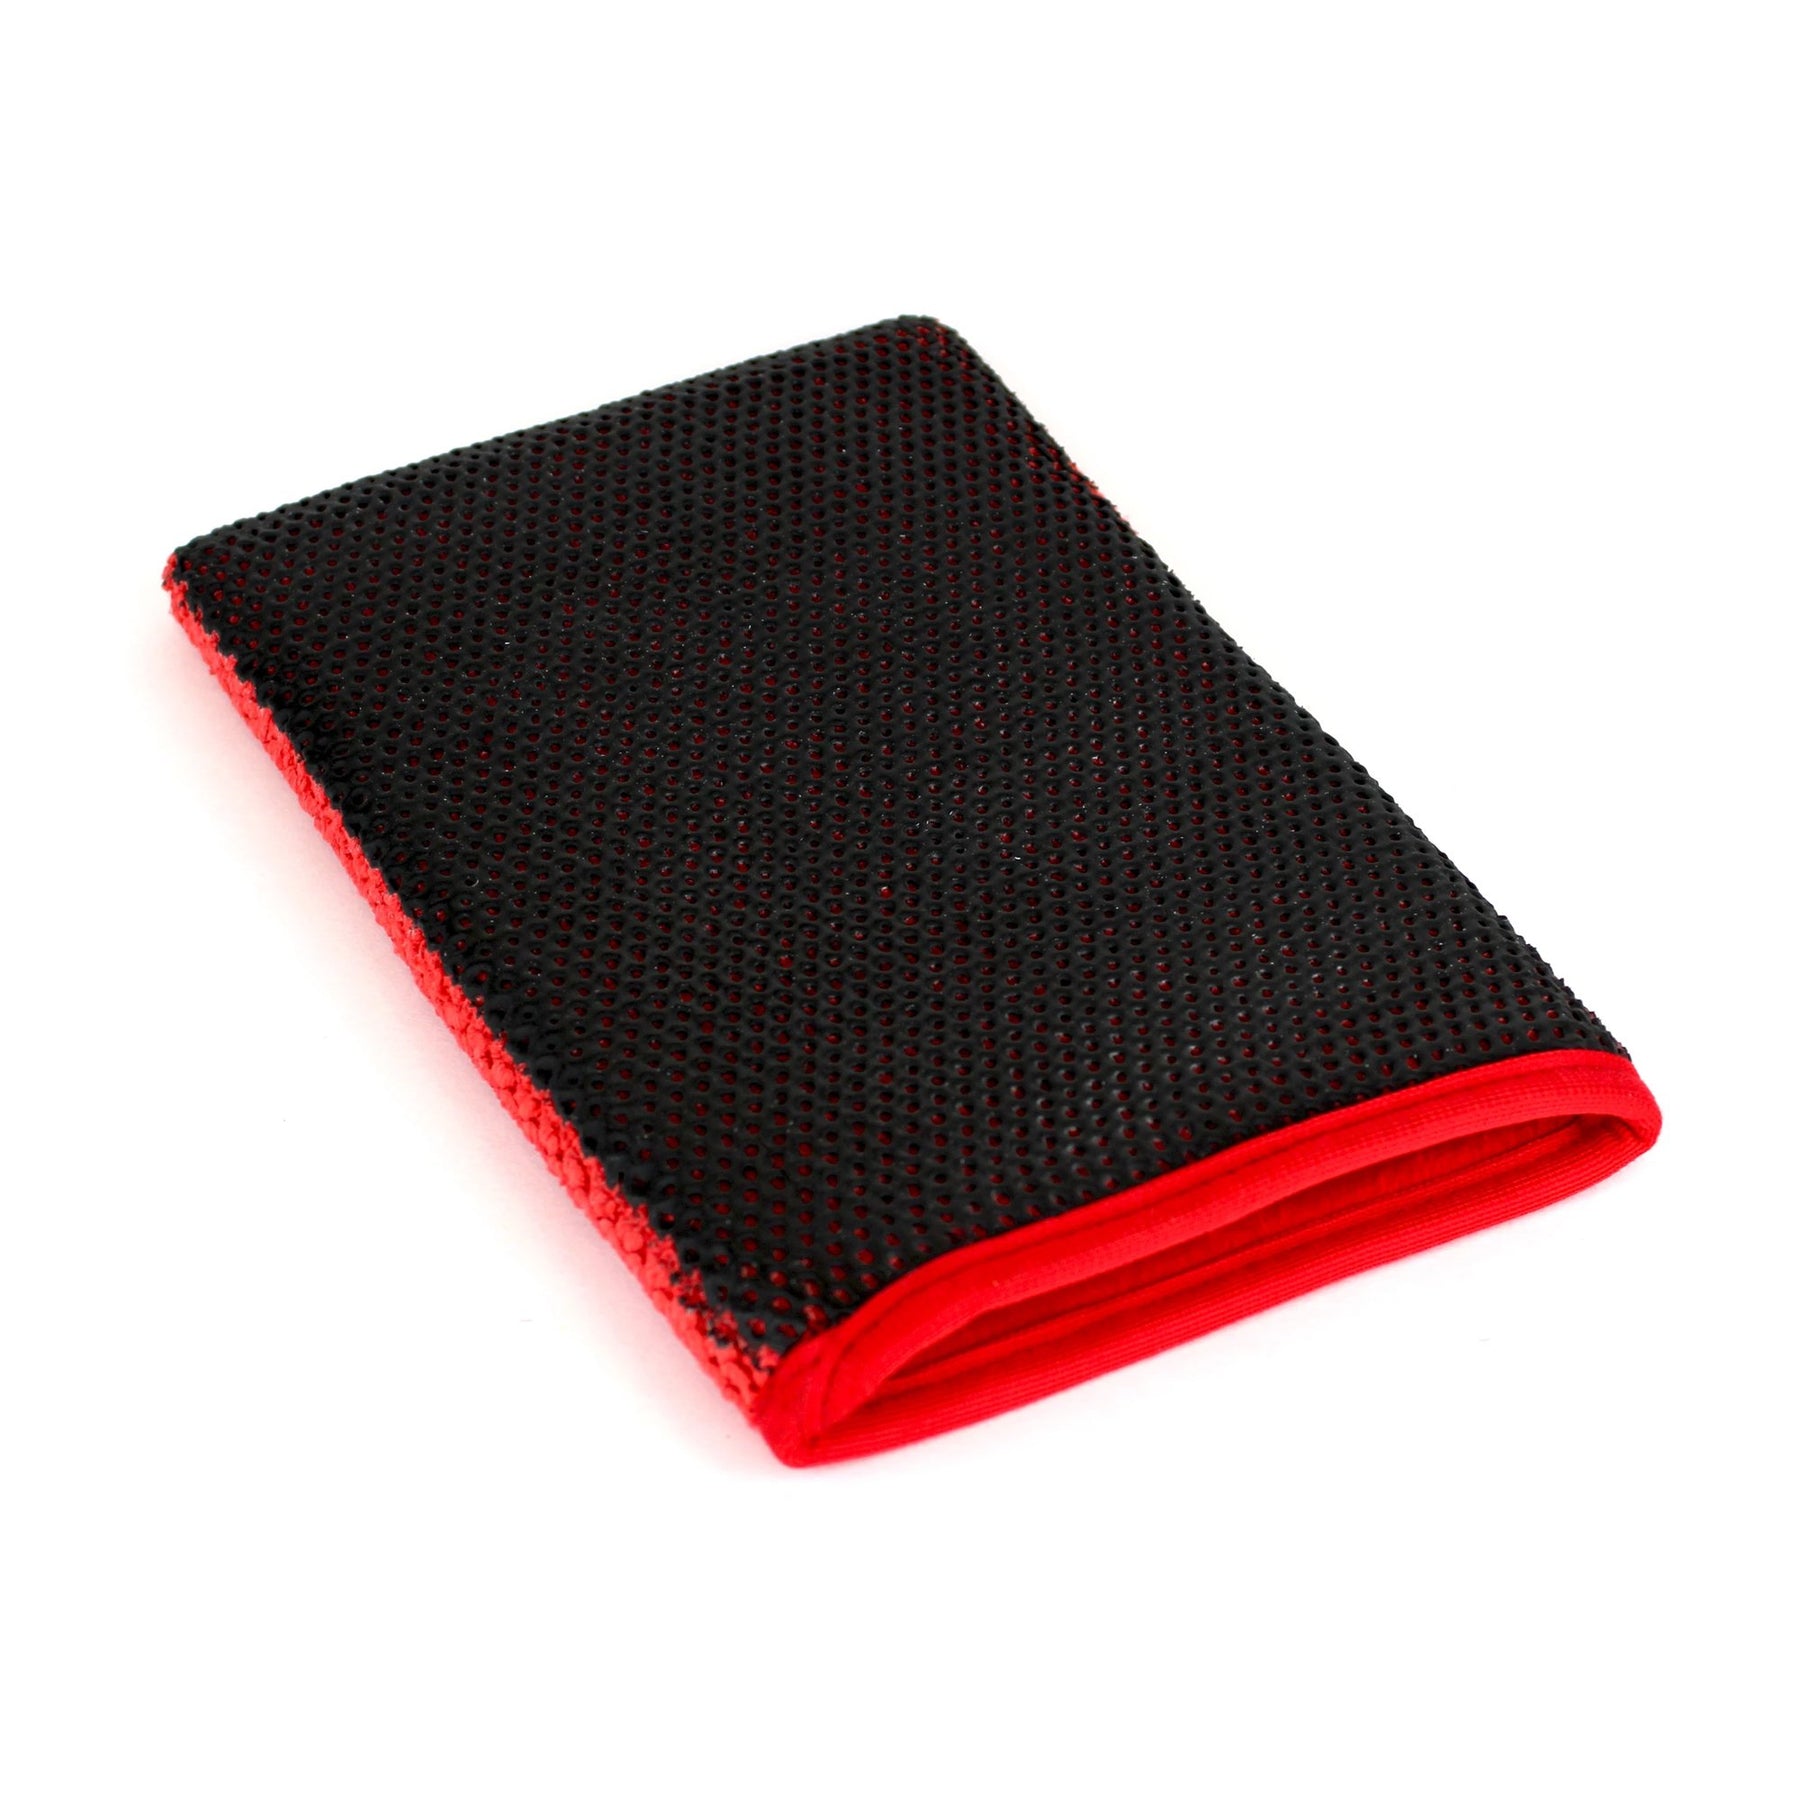
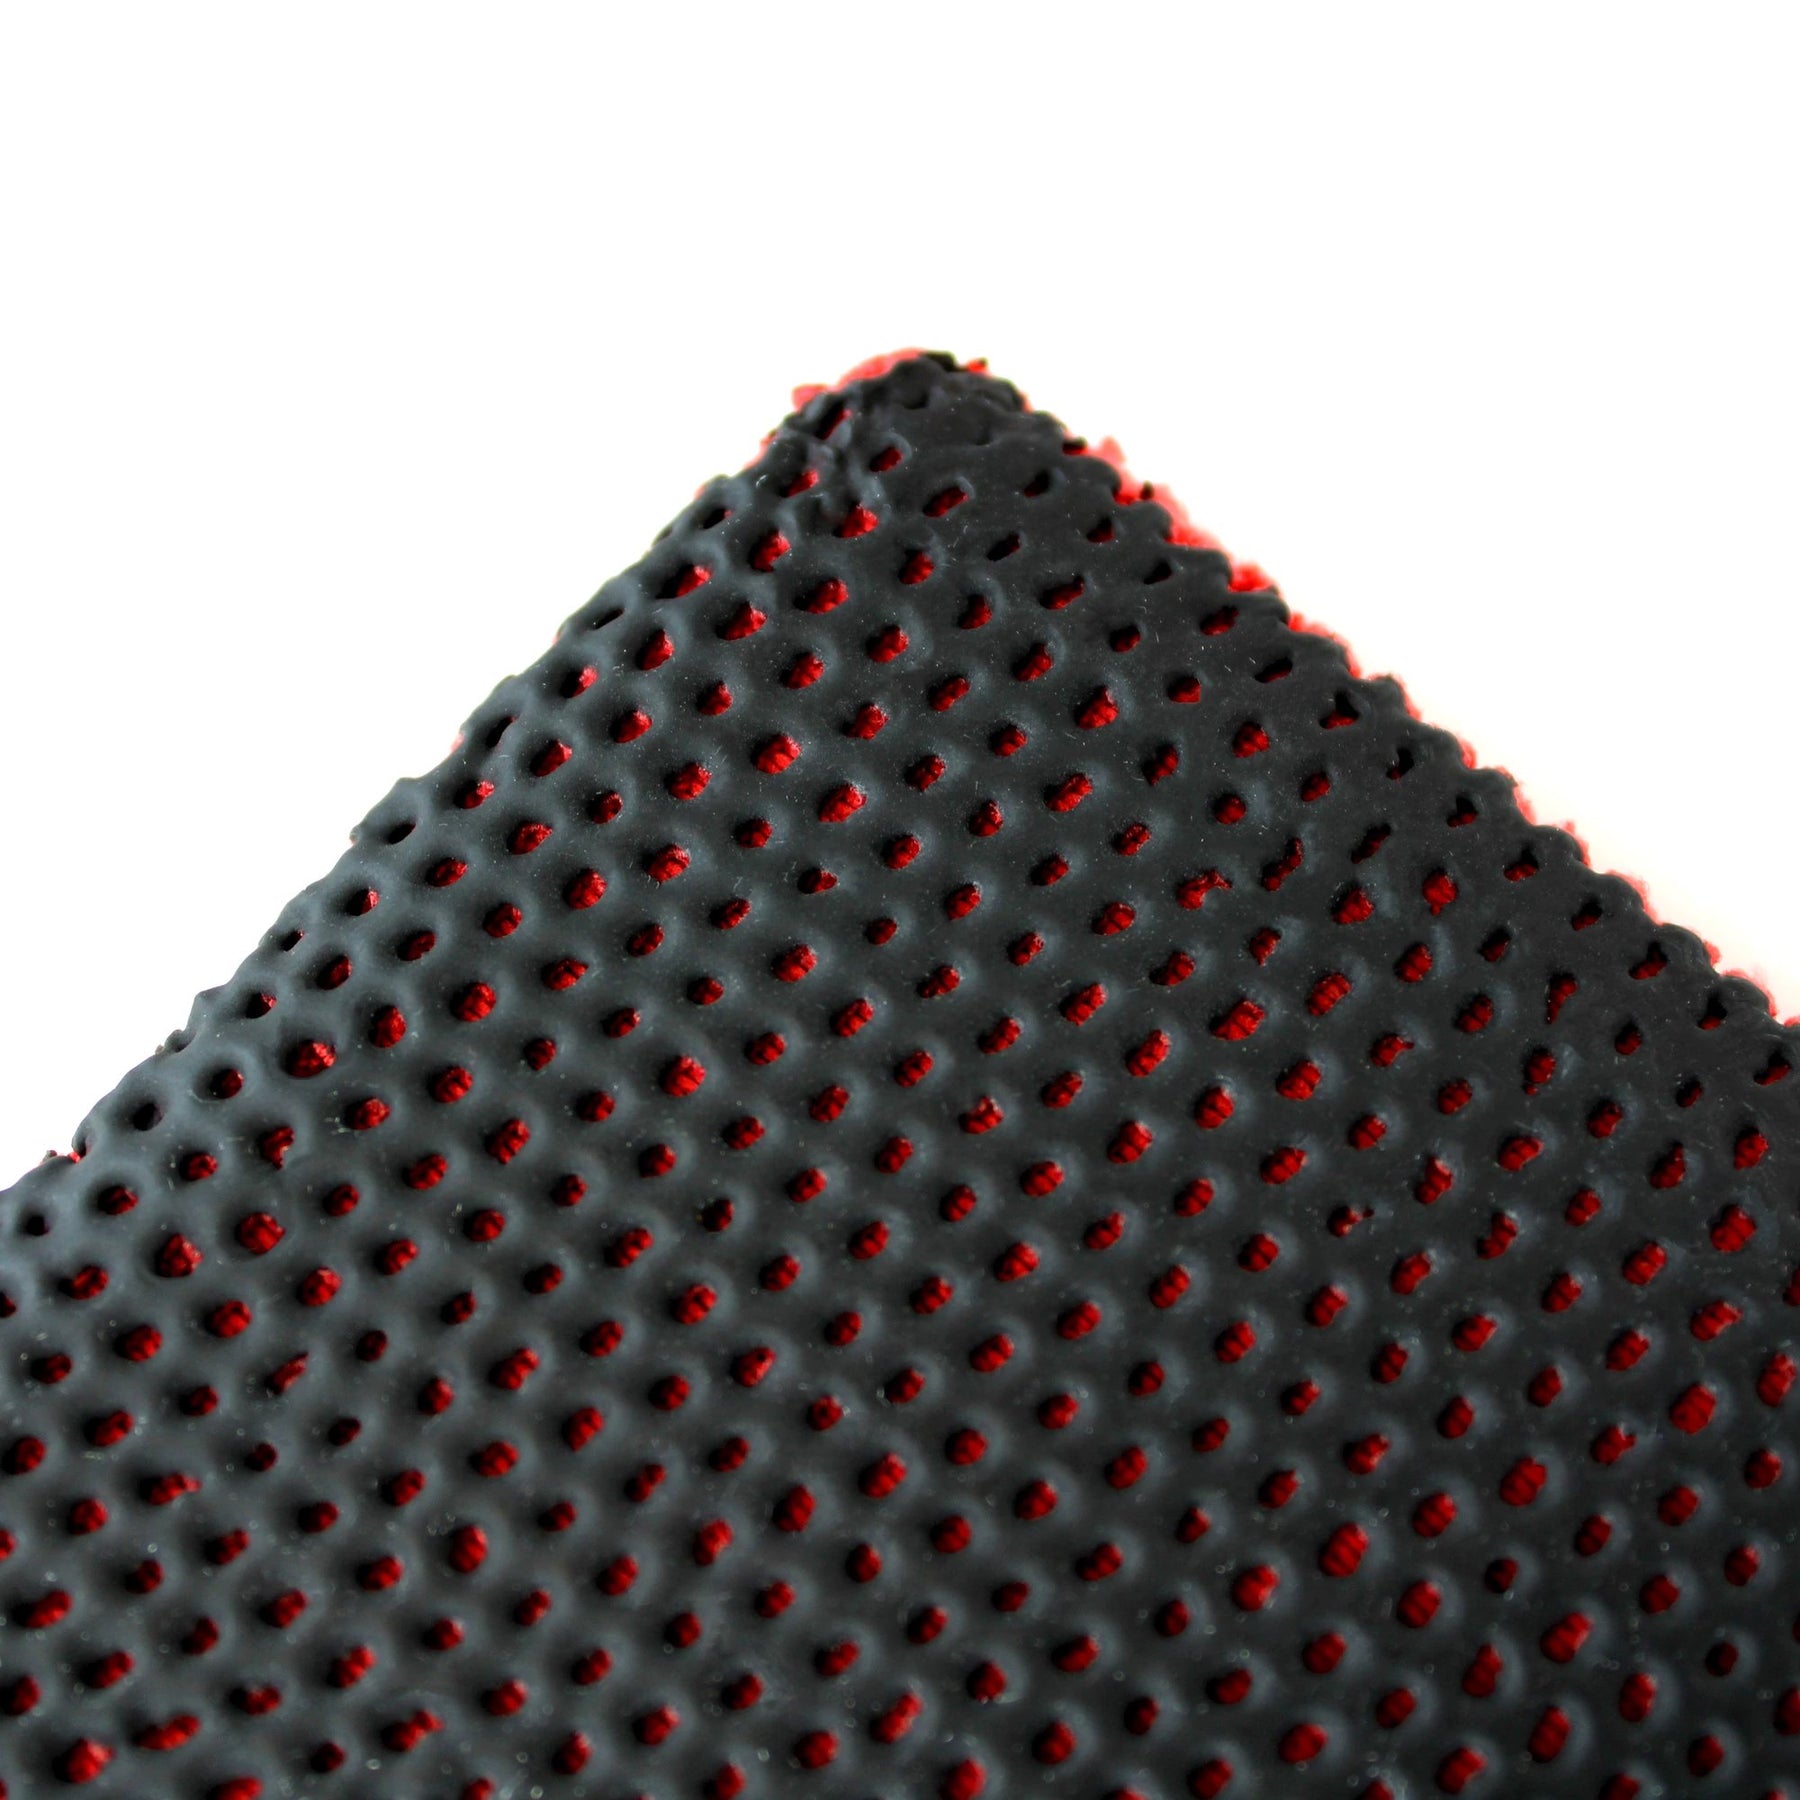
A clay mitt is a synthetic detailing tool used to remove embedded contaminants from your vehicle’s paint, glass, and metal surfaces. Unlike a traditional clay bar, which is a malleable piece of clay, a clay mitt offers a larger surface area and better handling, allowing for quicker and more efficient use. It’s designed to eliminate stubborn contaminants like brake dust, road tar, industrial fallout, and tree sap that regular washing can't remove.
Clay Mitt vs. Clay Bar: Which is Better?
When it comes to decontaminating your vehicle, both clay mitts and clay bars get the job done. However, each has its unique advantages:
-
Clay Mitt:
- Faster Application: The mitt covers more surface area, allowing you to complete the claying process more quickly than with a traditional clay bar.
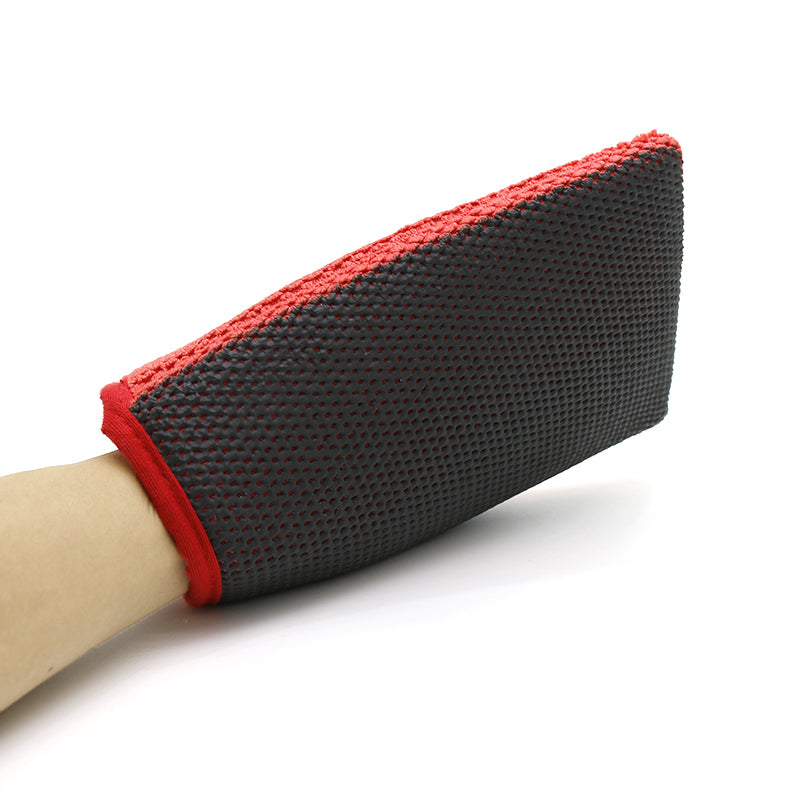
- Ease of Use: The mitt is easier to grip and doesn’t require as much manipulation (reshaping, flattening) as a clay bar.
- Reusable and Durable: A clay mitt can be used for several detailing sessions and can be cleaned after each use for long-term value.
-
Clay Bar:
- More Precise: If you prefer more control over the application, a clay bar offers greater precision for tight areas and intricate surfaces.
- Single-Use: Clay bars tend to become ineffective quicker than clay mitts, especially if dropped on the ground, as they pick up dirt and grit, which can cause scratches.
Conclusion: Clay Mitt vs. Clay Bar
If you’re looking for speed, ease of use, and durability, the clay mitt is the better option. For those who prioritize precision or are detailing intricate areas, a traditional clay bar may still be the preferred choice.
Why Use a Clay Mitt?
Using a clay mitt offers several standout benefits:
- Faster and More Efficient: Compared to traditional clay bars, a clay mitt covers more surface area and doesn’t need to be frequently reshaped.
- Reusable: A clay mitt can be washed and reused multiple times, offering long-term value.
- Safe on Paint: When used correctly with the right lubricant, a clay mitt is safe and effective on all surfaces, leaving your paint smooth and contaminant-free.
How to Use a Clay Mitt: Step-by-Step Instructions
Here’s a simple step-by-step guide on how to use a clay mitt effectively:
1. Wash and Rinse Your Vehicle
Before using a clay mitt, it’s important to ensure your vehicle is clean and free from surface-level dirt and grime. Wash your car thoroughly with your favorite car shampoo and rinse it well. This will prevent any large particles from scratching the surface during the claying process.
2. Lubricate the Surface
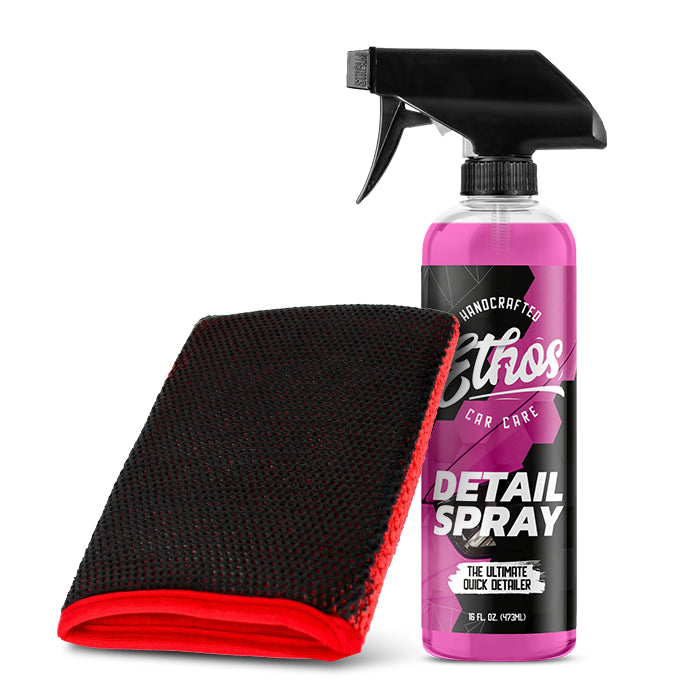
Using a clay mitt requires a proper lubricant to help the mitt glide smoothly over the surface without causing scratches. You can use a detail spray, soap solution, or a specialized clay lubricant. Spray the lubricant generously over the section of the vehicle you’ll be working on, typically a 2’ x 2’ area at a time.
3. Work in Small Sections
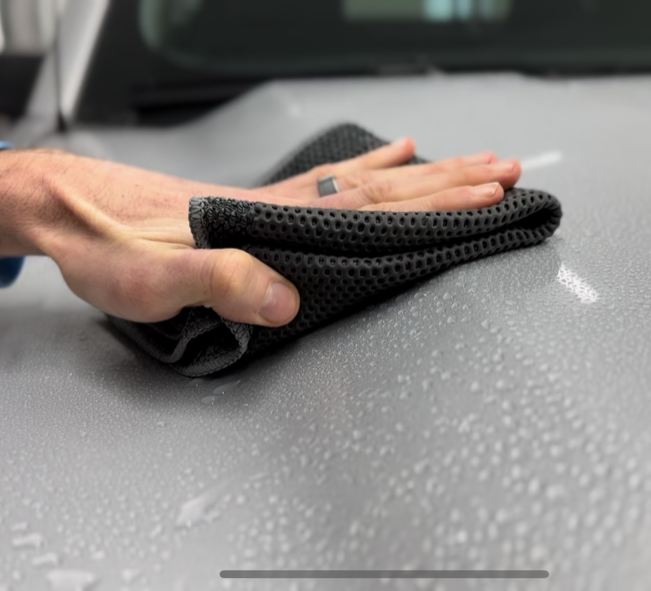
Start by gliding the clay mitt over the lubricated section in straight lines, moving back and forth. Apply light pressure—there’s no need to press hard. The mitt will pick up contaminants embedded in the surface, leaving it smooth to the touch. After a few passes, feel the area with your hand. If it feels smooth, you can move on to the next section.
4. Rinse or Wipe Down Each Section
Once you've finished claying each section, wipe it down with a clean microfiber towel to remove any residue left behind by the clay mitt. Alternatively, you can rinse the section with water to ensure no contaminants remain.
5. Dry and Protect Your Vehicle
After using the clay mitt on the entire vehicle, dry the surface with a microfiber towel. It’s a good idea to apply a layer of wax, sealant, or ceramic coating afterward to protect the freshly cleaned surface. A smooth surface will also help these protective layers bond better, providing longer-lasting shine and protection.
Tips for Best Results
- Soften the Mitt: If you’re using a new clay mitt, soak it in a bucket of water overnight or use it for a couple of washes to break it in and soften it.
- Keep the Surface Lubricated: Make sure the surface stays lubricated throughout the process to avoid marring or scratching the paint.
- Clean the Mitt: After use, rinse the clay mitt thoroughly with water to remove any contaminants it has picked up, ensuring it’s ready for the next use.
Final Thoughts: Clay Mitt vs. Clay Bar
While both tools are effective for decontamination, the clay mitt is superior in terms of speed, ease of use, and durability. It’s an excellent investment for both professional detailers and DIY enthusiasts looking for an efficient way to achieve a smooth, contaminant-free surface. Whether you're prepping your car for polishing or simply maintaining its finish, the clay mitt offers a versatile, user-friendly solution.