Table of Contents
Ceramic Coating
★★★★★ "Easier to apply than a wax and my car looks better than new. Home run!" -John H.
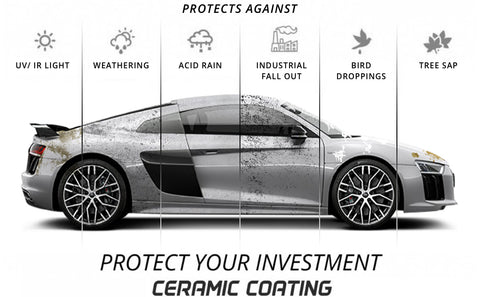
Learn MoreNothing is safe or sacred. At least, not when it comes to your car’s paint and the environment around it. Birds tend to use your hood as a target and rail dust can make any new car rust prematurely. From acid rain to tree sap and road tar, you could spend an hour or more every day, detailing the crud off your paint. Wax helps, but it’s not perfect either.
What is a Ceramic Coating?
There’s no denying that a ceramic coating or graphene coating would protect your car’s paint better than any wax can do. If you’ve been scared off by the exorbitant price of having a professional detailer do the job, or if you love the feeling of a job well done, why not do it yourself? Knowing how to apply a ceramic coating to your car contains more than one life skill that a proud car owner should have in their toolbox anyway.
If it’s your first time applying a ceramic coating, it’s going to be intimidating, but it doesn’t have to be. Let’s go step by step through the process to apply a nano ceramic coating that looks great and protects your finish for years.
What you’ll need
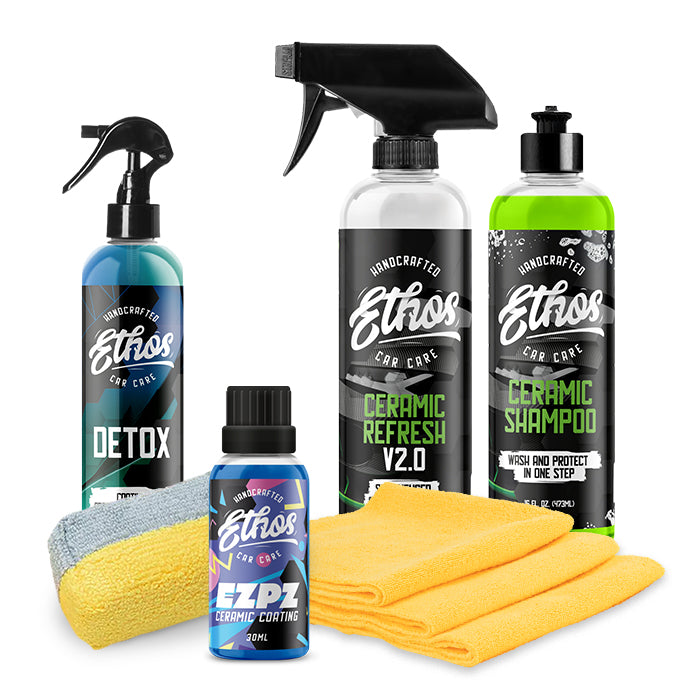
Quality products make all the difference in the finished results. Here’s what you’ll need from Ethos Car Care to get the job done.
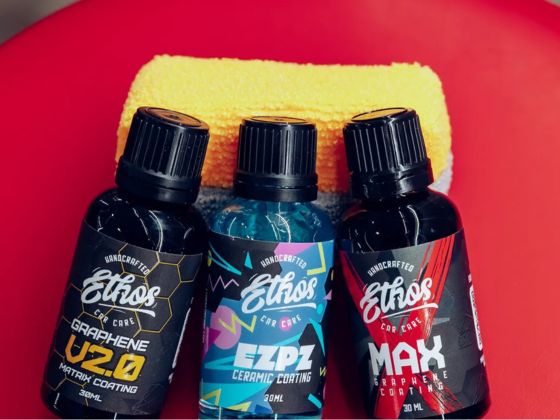
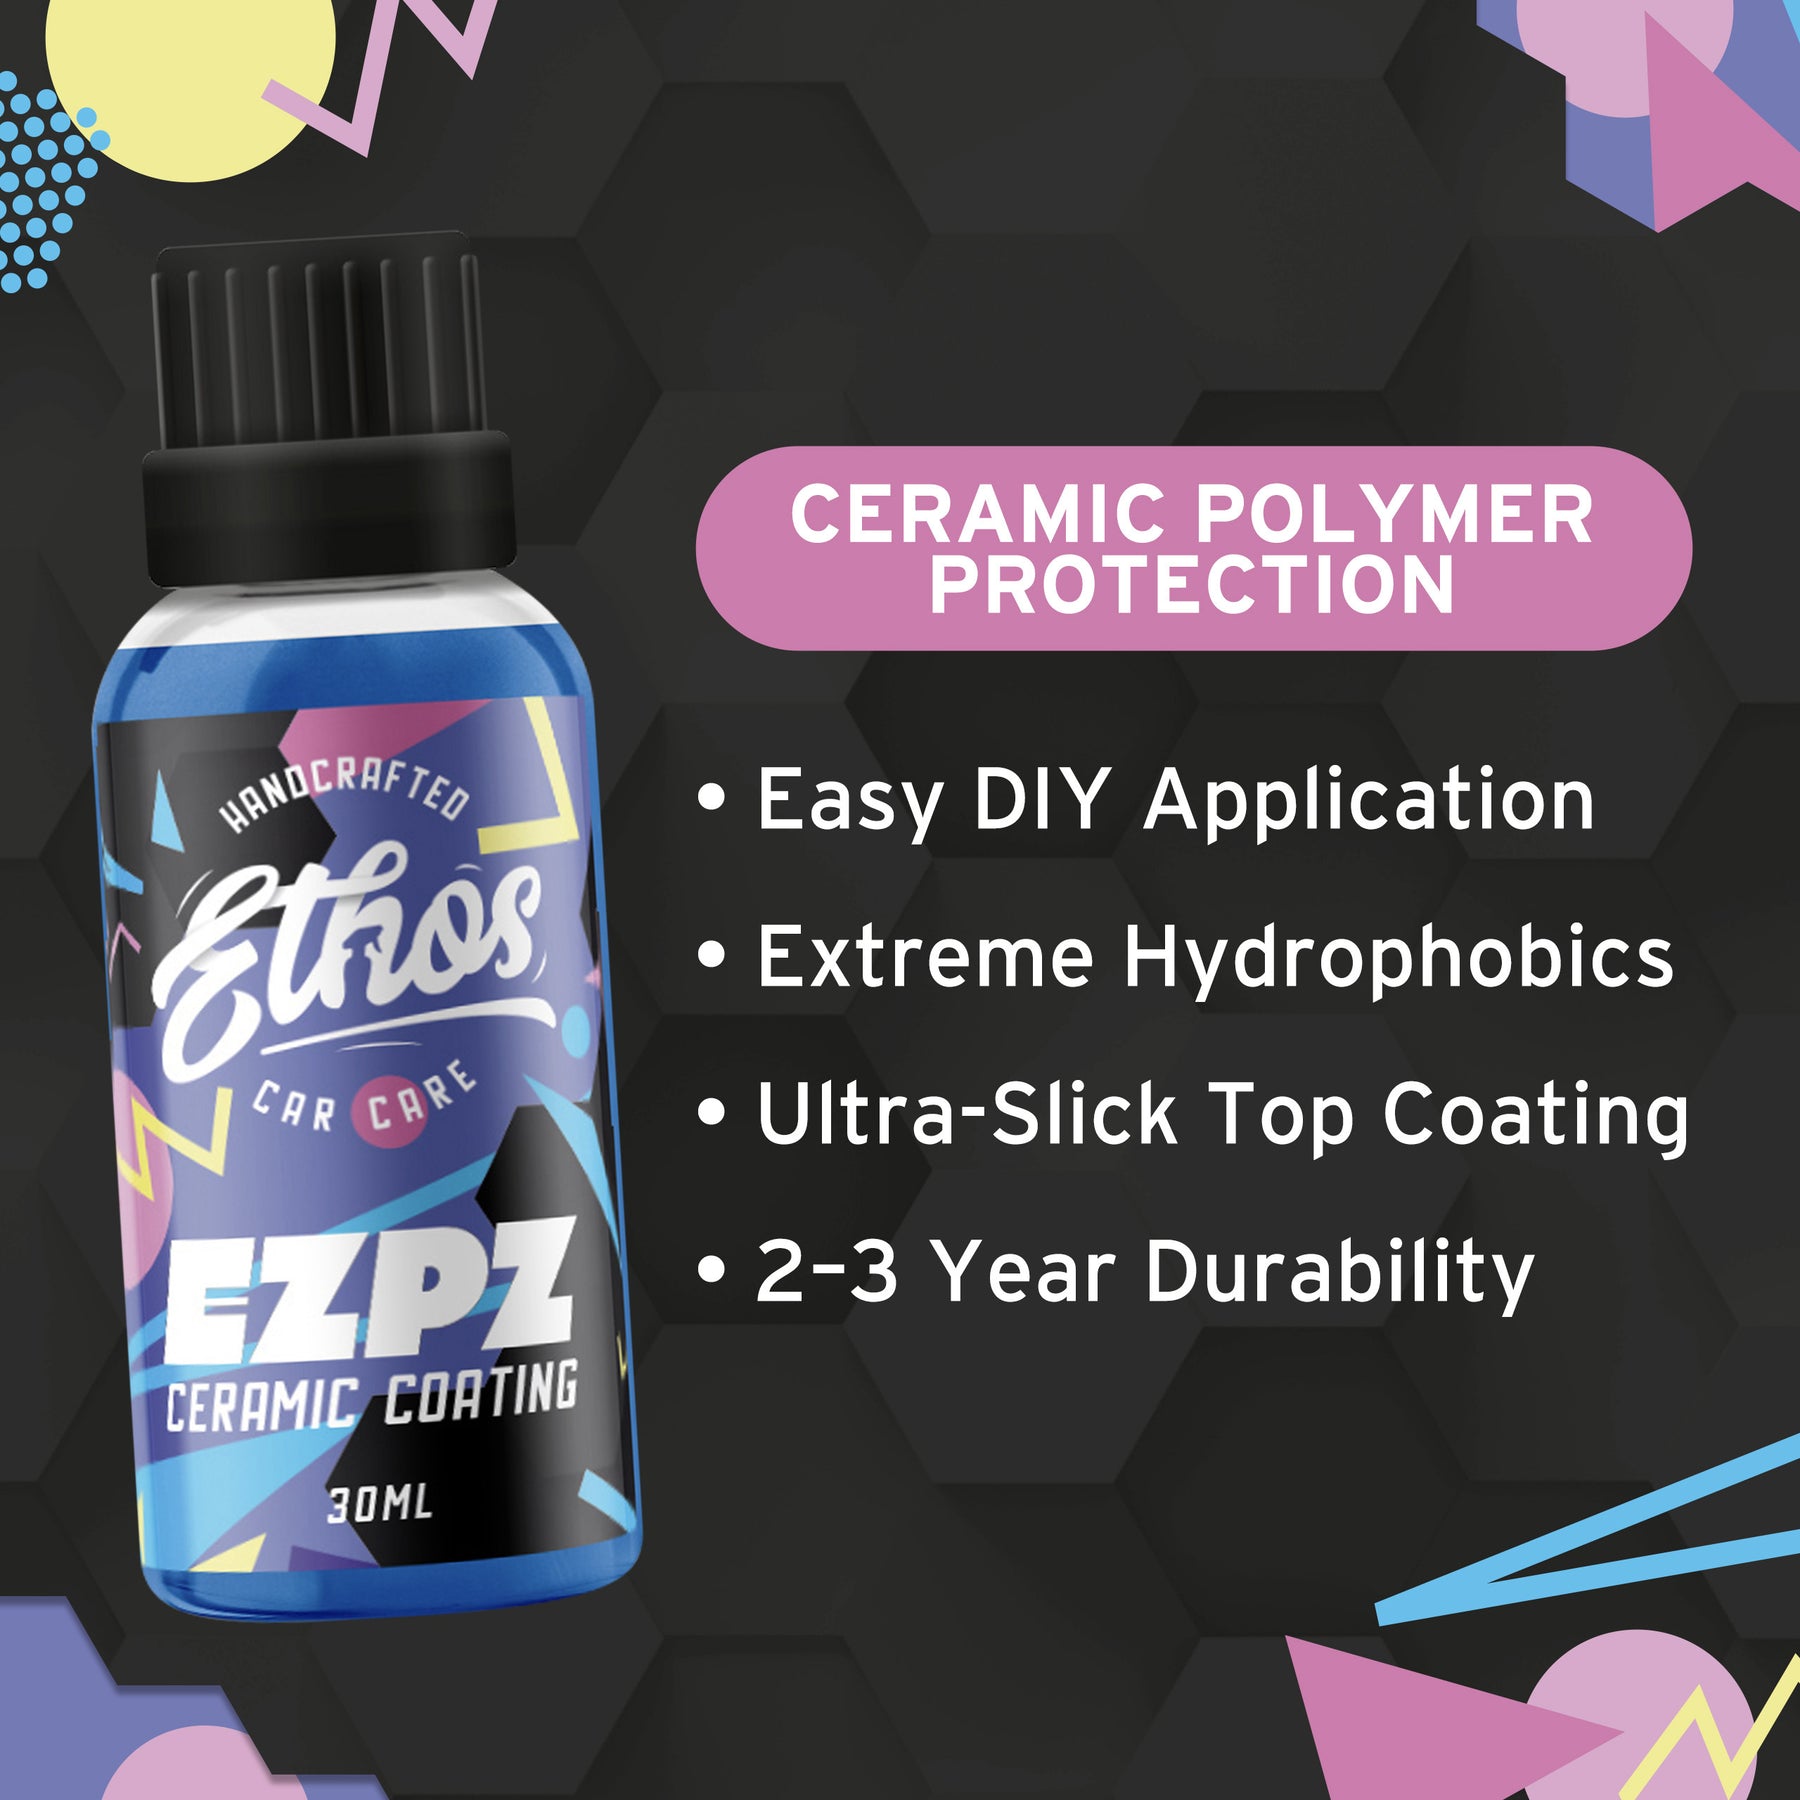
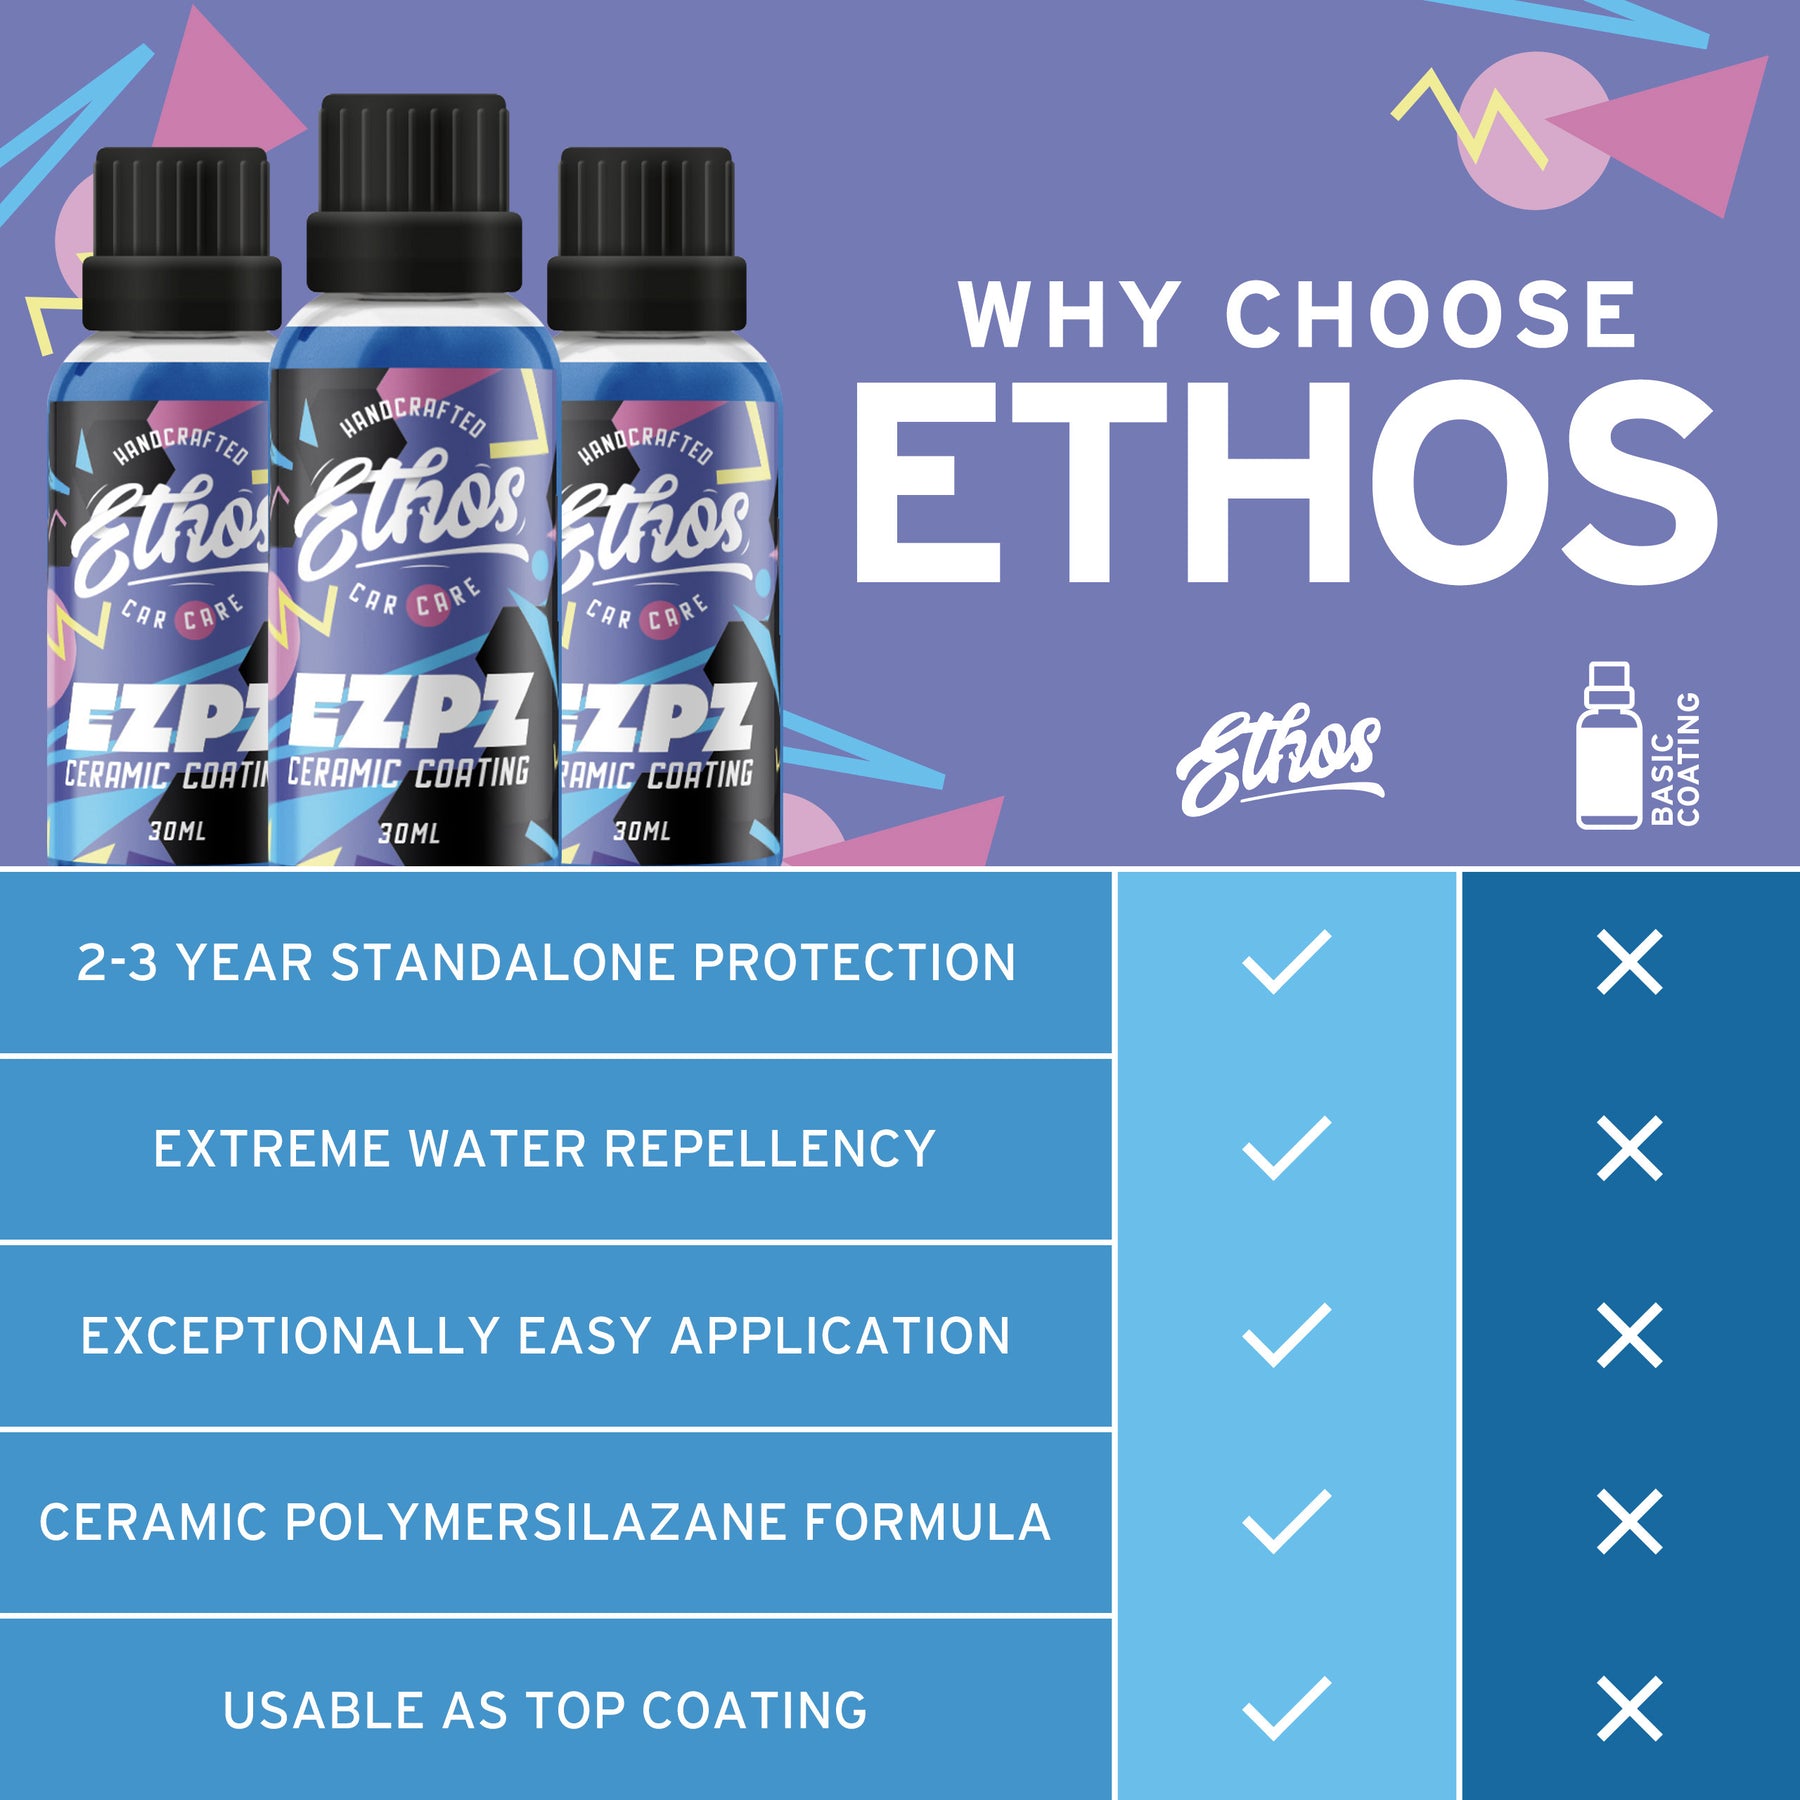
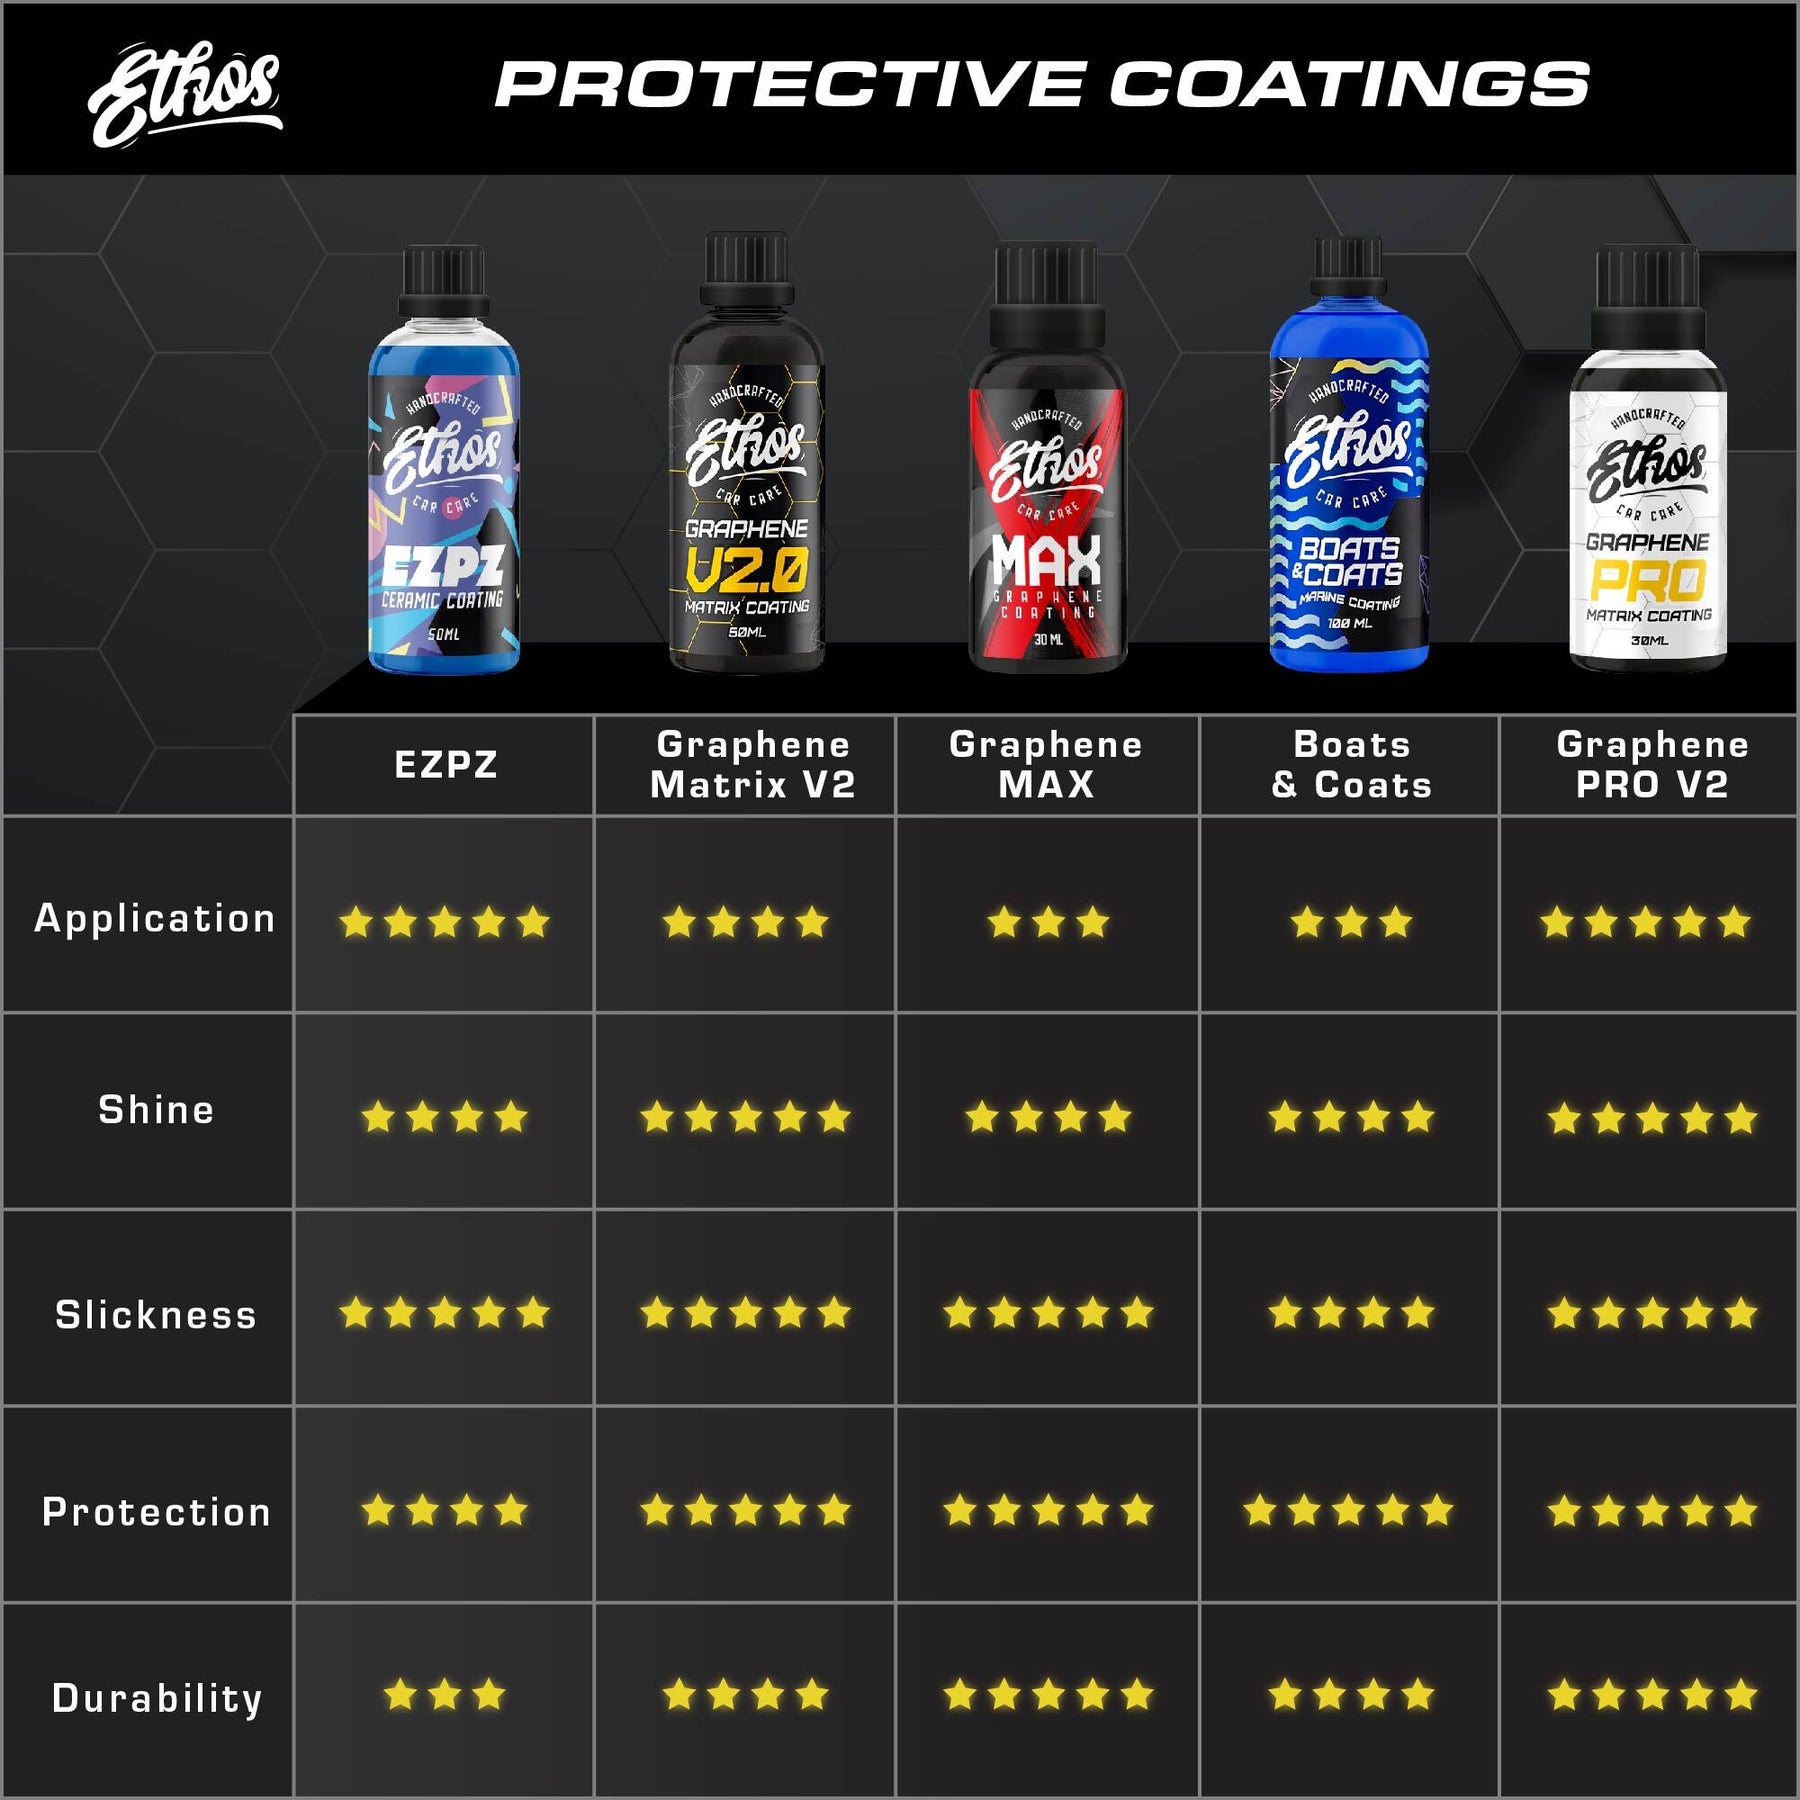
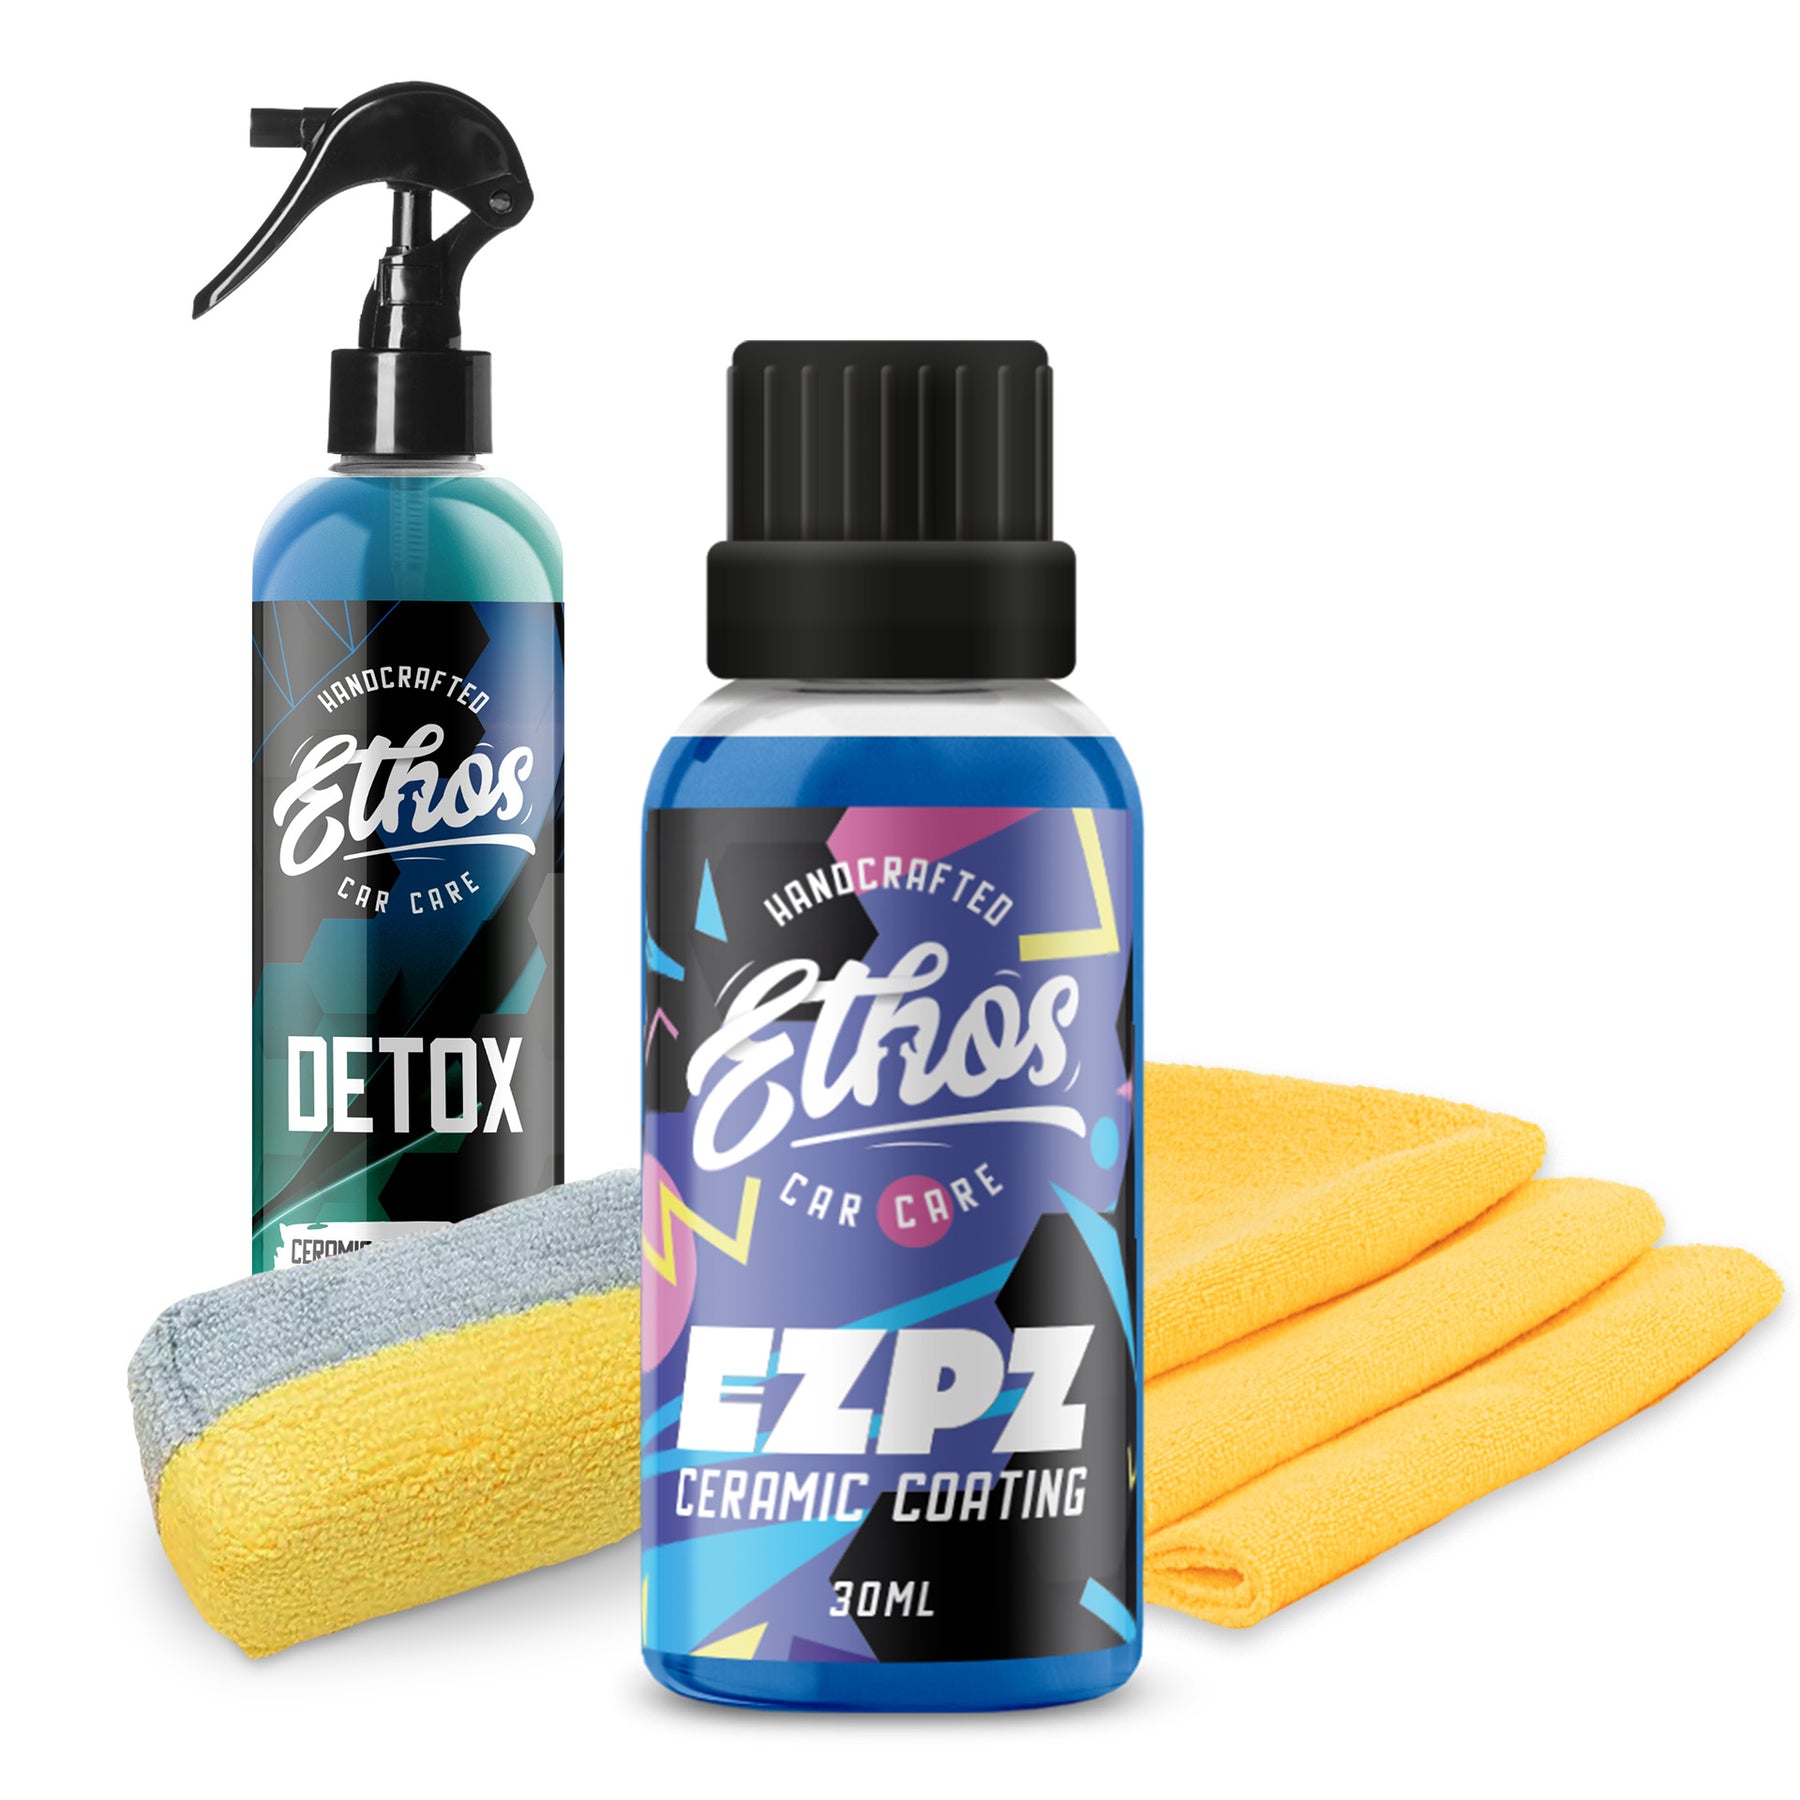
- EZPZ Ceramic Coating or Graphene Matrix Coating. Both offer 9H hardness rating and is independently accredited plus it’s intended to last 3-5+ years.
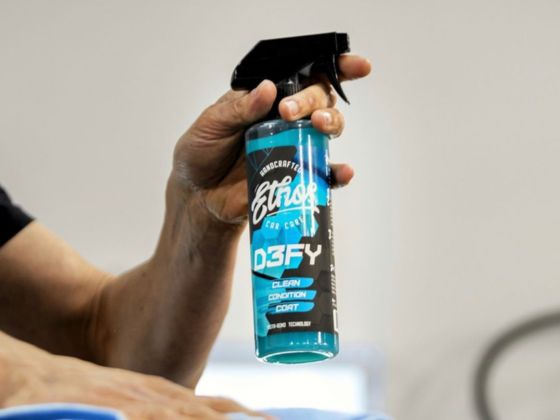
- Defy Cleaner
- Detox Ceramic Coating Prep Spray
- Clay bar or clay mitt
- Finish Shine Ceramic Detail Spray
- Polisher and scratch removing compounds
- Microfiber cloths
- Ceramic coating applicator
Or Buy the Whole Ceramic Coating Kit
Step 1: Detail the exterior
The toughest part – and most time-consuming part – of applying ceramic coating isn’t the application itself but the prep. A perfectly clean, unmarked paint job is required or you’ll see every bit of dirt and every scratch preserved under the invisible coating.
If you’re applying ceramic coat to a new car, you might be thinking about skipping the prep stage. DON’T!! Even on new cars, there are bits of stuck-on dirt, rail dust, glue, and other junk. You’ll kick yourself.
Clean the exterior

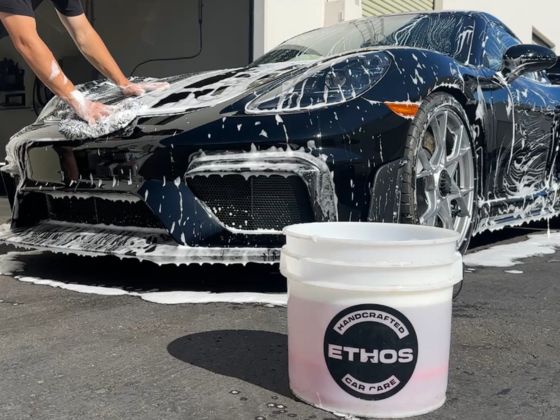
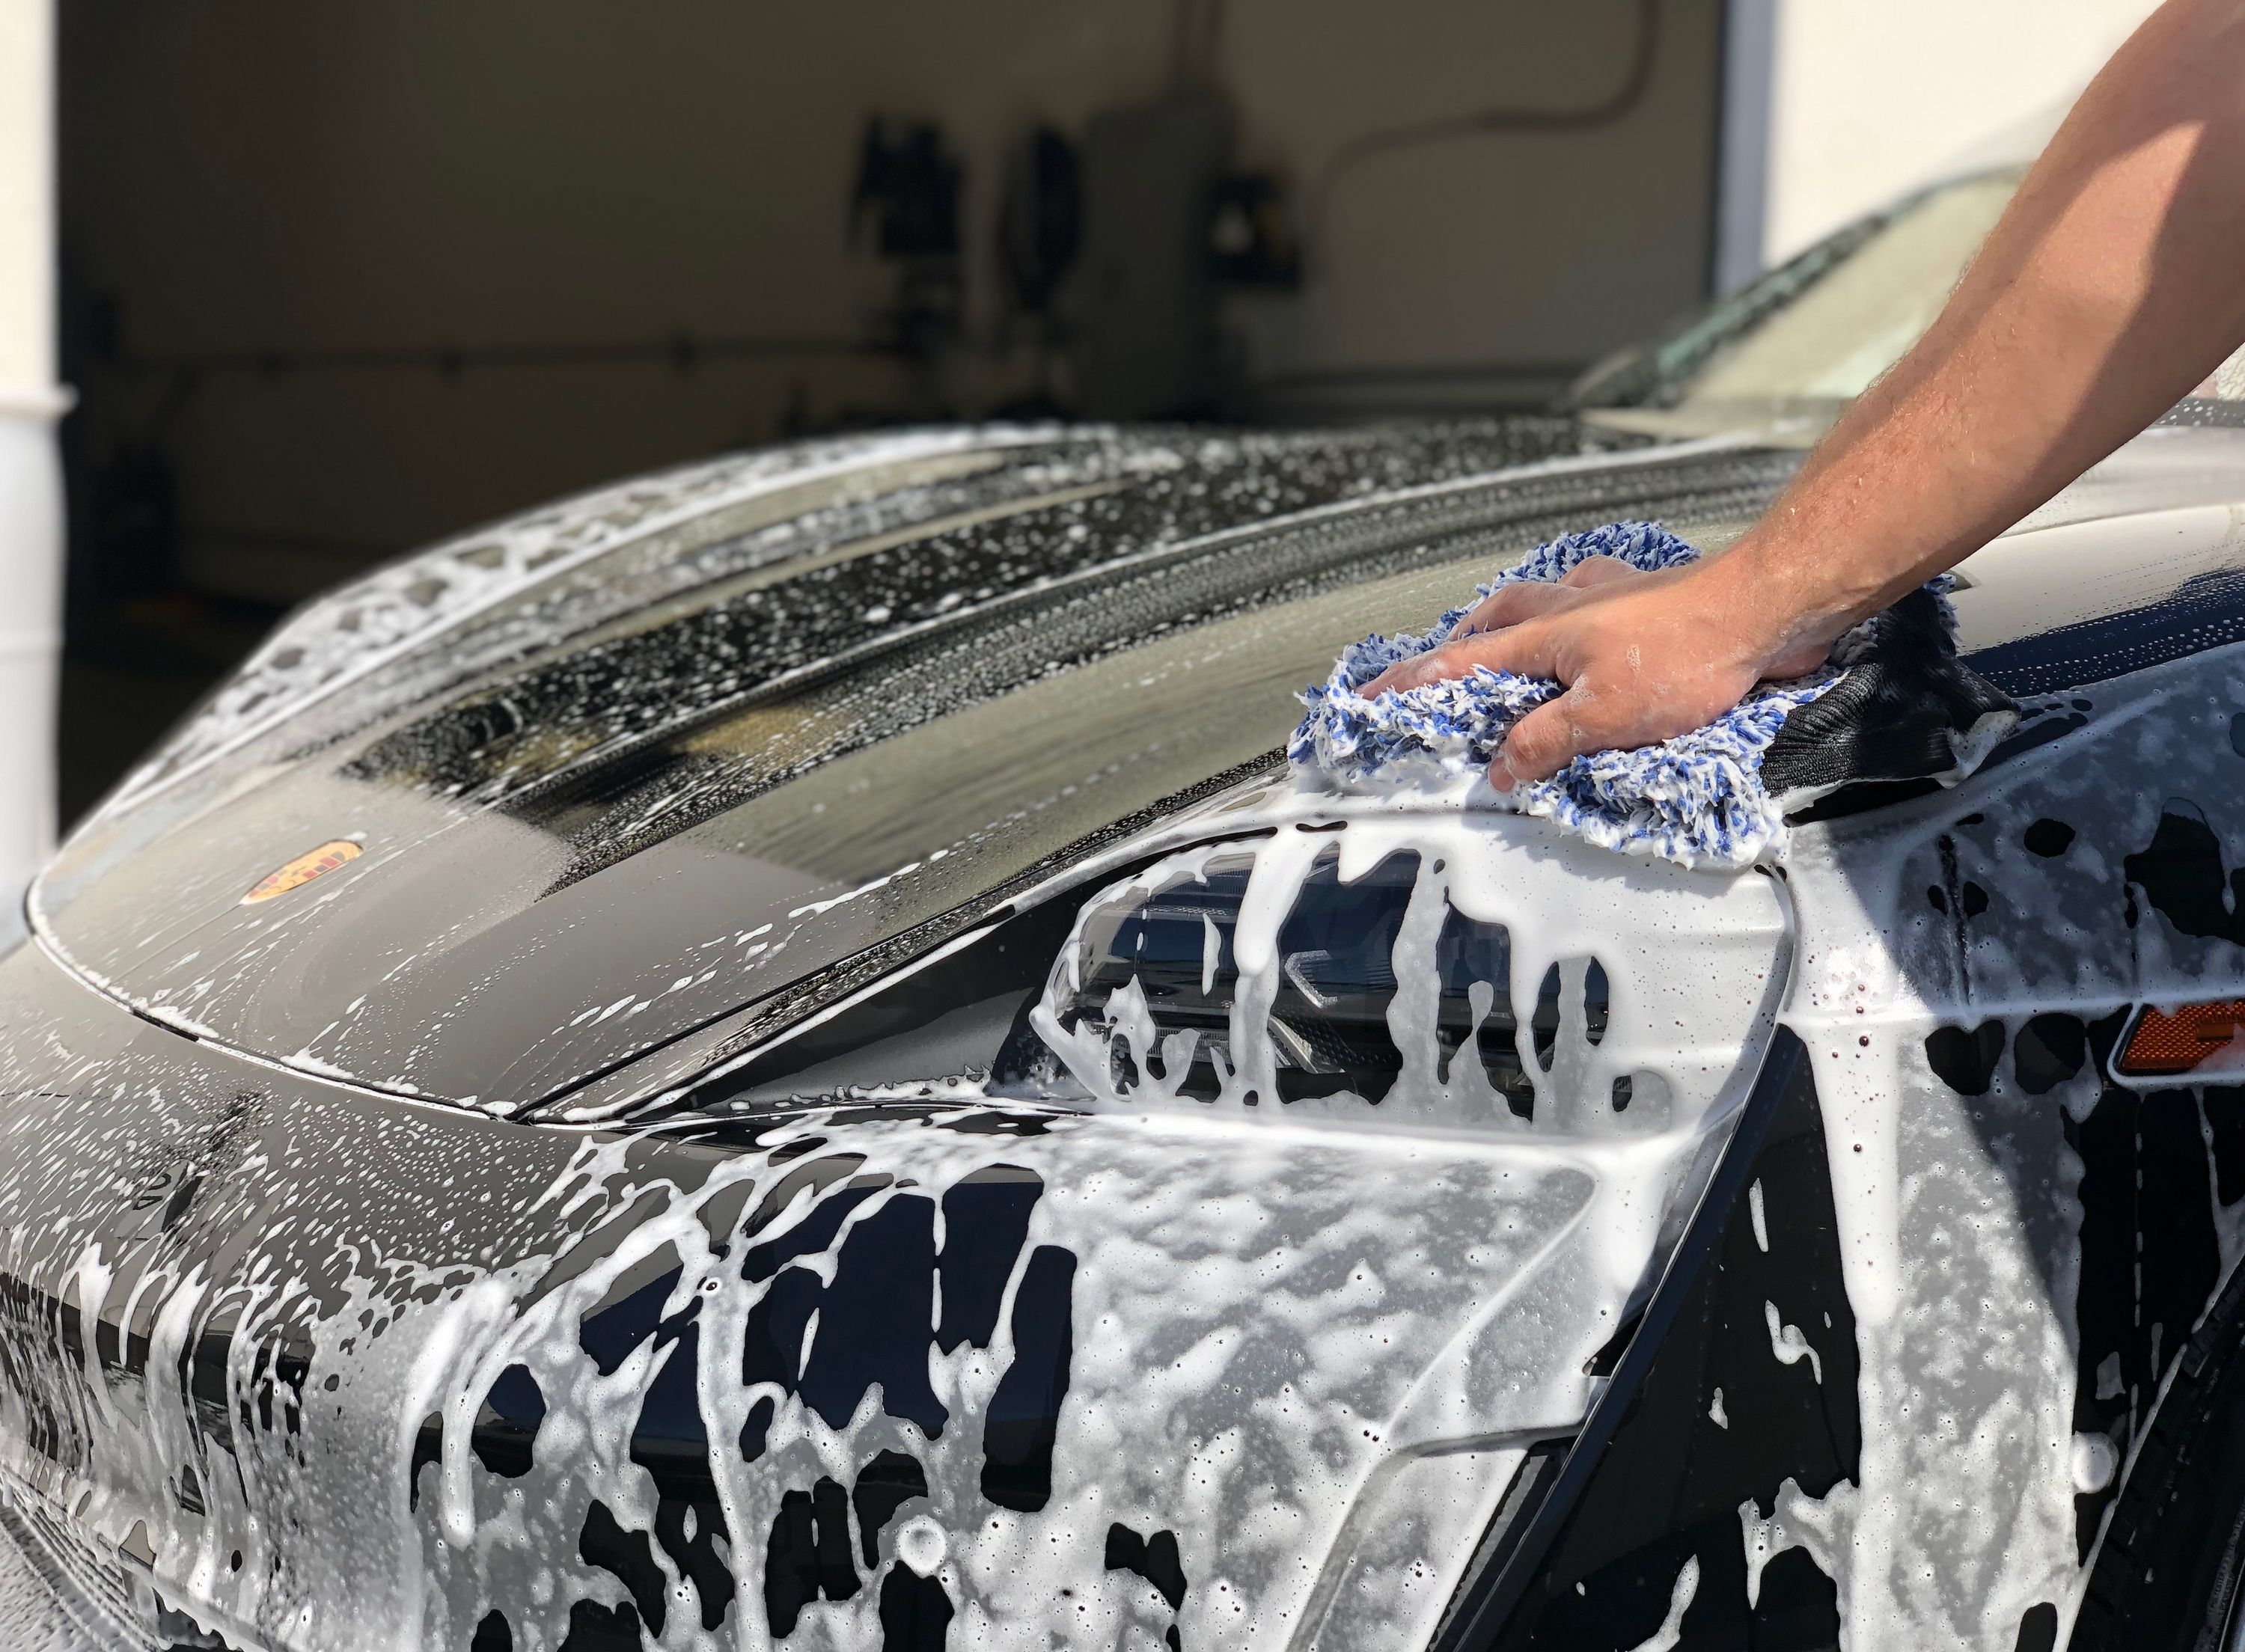
Naturally, you’re starting with a washed car, but there’s soap residue and other stuff still on the paint. Begin by spraying each panel with Defy, then wiping it off with a clean microfiber cloth for a streak-free finish.
Decontaminate the paint

Run your hand over the paint. Feel those tiny bumps? That’s gunk still stuck to the paint, and a proper application requires those go too. A clay bar or a clay mitt will do miracles. Lay down a healthy mist of Pro Shine Ceramic Detail Spray, working in small areas, to act as a lubricant or you could mar the paint. Wipe the clay bar or mitt over the section to lift away the stuck-on bits. Repeat until you’ve done the whole car.
Remove scratches (If Needed)

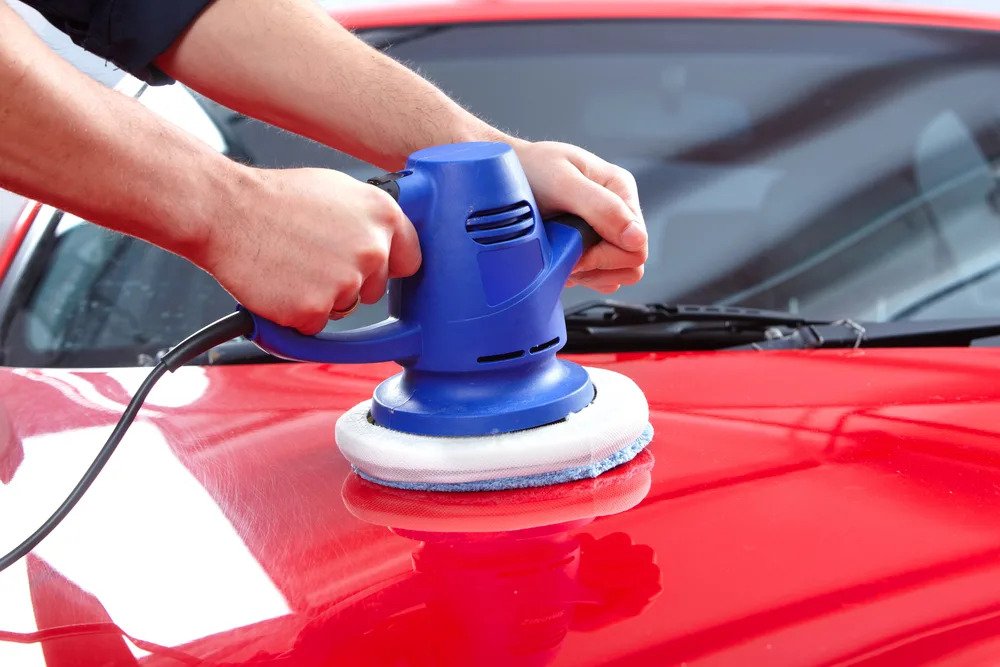
A light polish with a finishing compound may be all you need if you’re working on a new, never-been-driven car. For used cars that have had some life experience, a thorough cut and polish will be needed to remove the swirl marks and scratches. Follow the instructions on the power polisher and products you choose.
Give it a final once-over

Get rid of any hidden moisture in panel gaps that could mess up your ceramic coating. Then, perform a final clean with Ethos Detox prep spray that strips any last contaminants, wiping it completely off with a clean microfiber cloth.
Your car should be ready to apply ceramic coating now.
Step 2: Apply the ceramic coating
The time-consuming part is done, and it’s time to lay down a glassy layer of ceramic coating. This process requires precision, and it’s best to apply it in a climate-controlled space between 65 and 75 degrees.
Wipe on

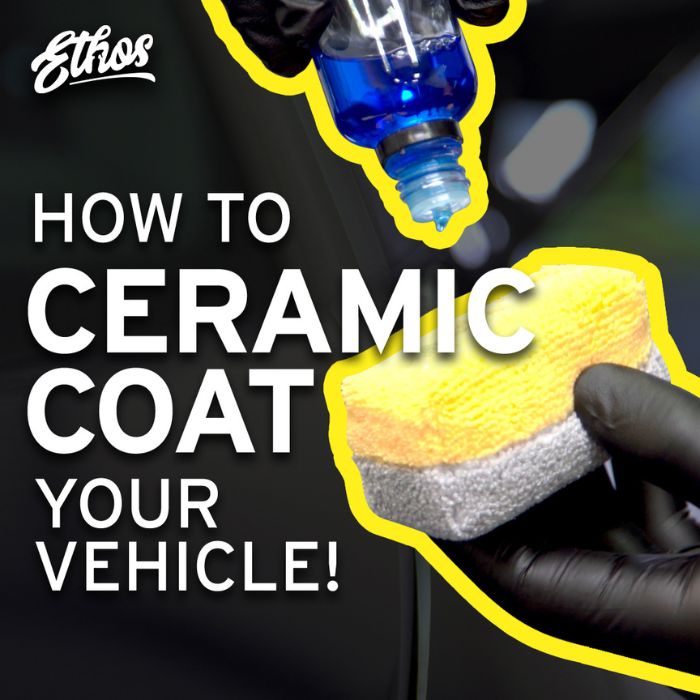
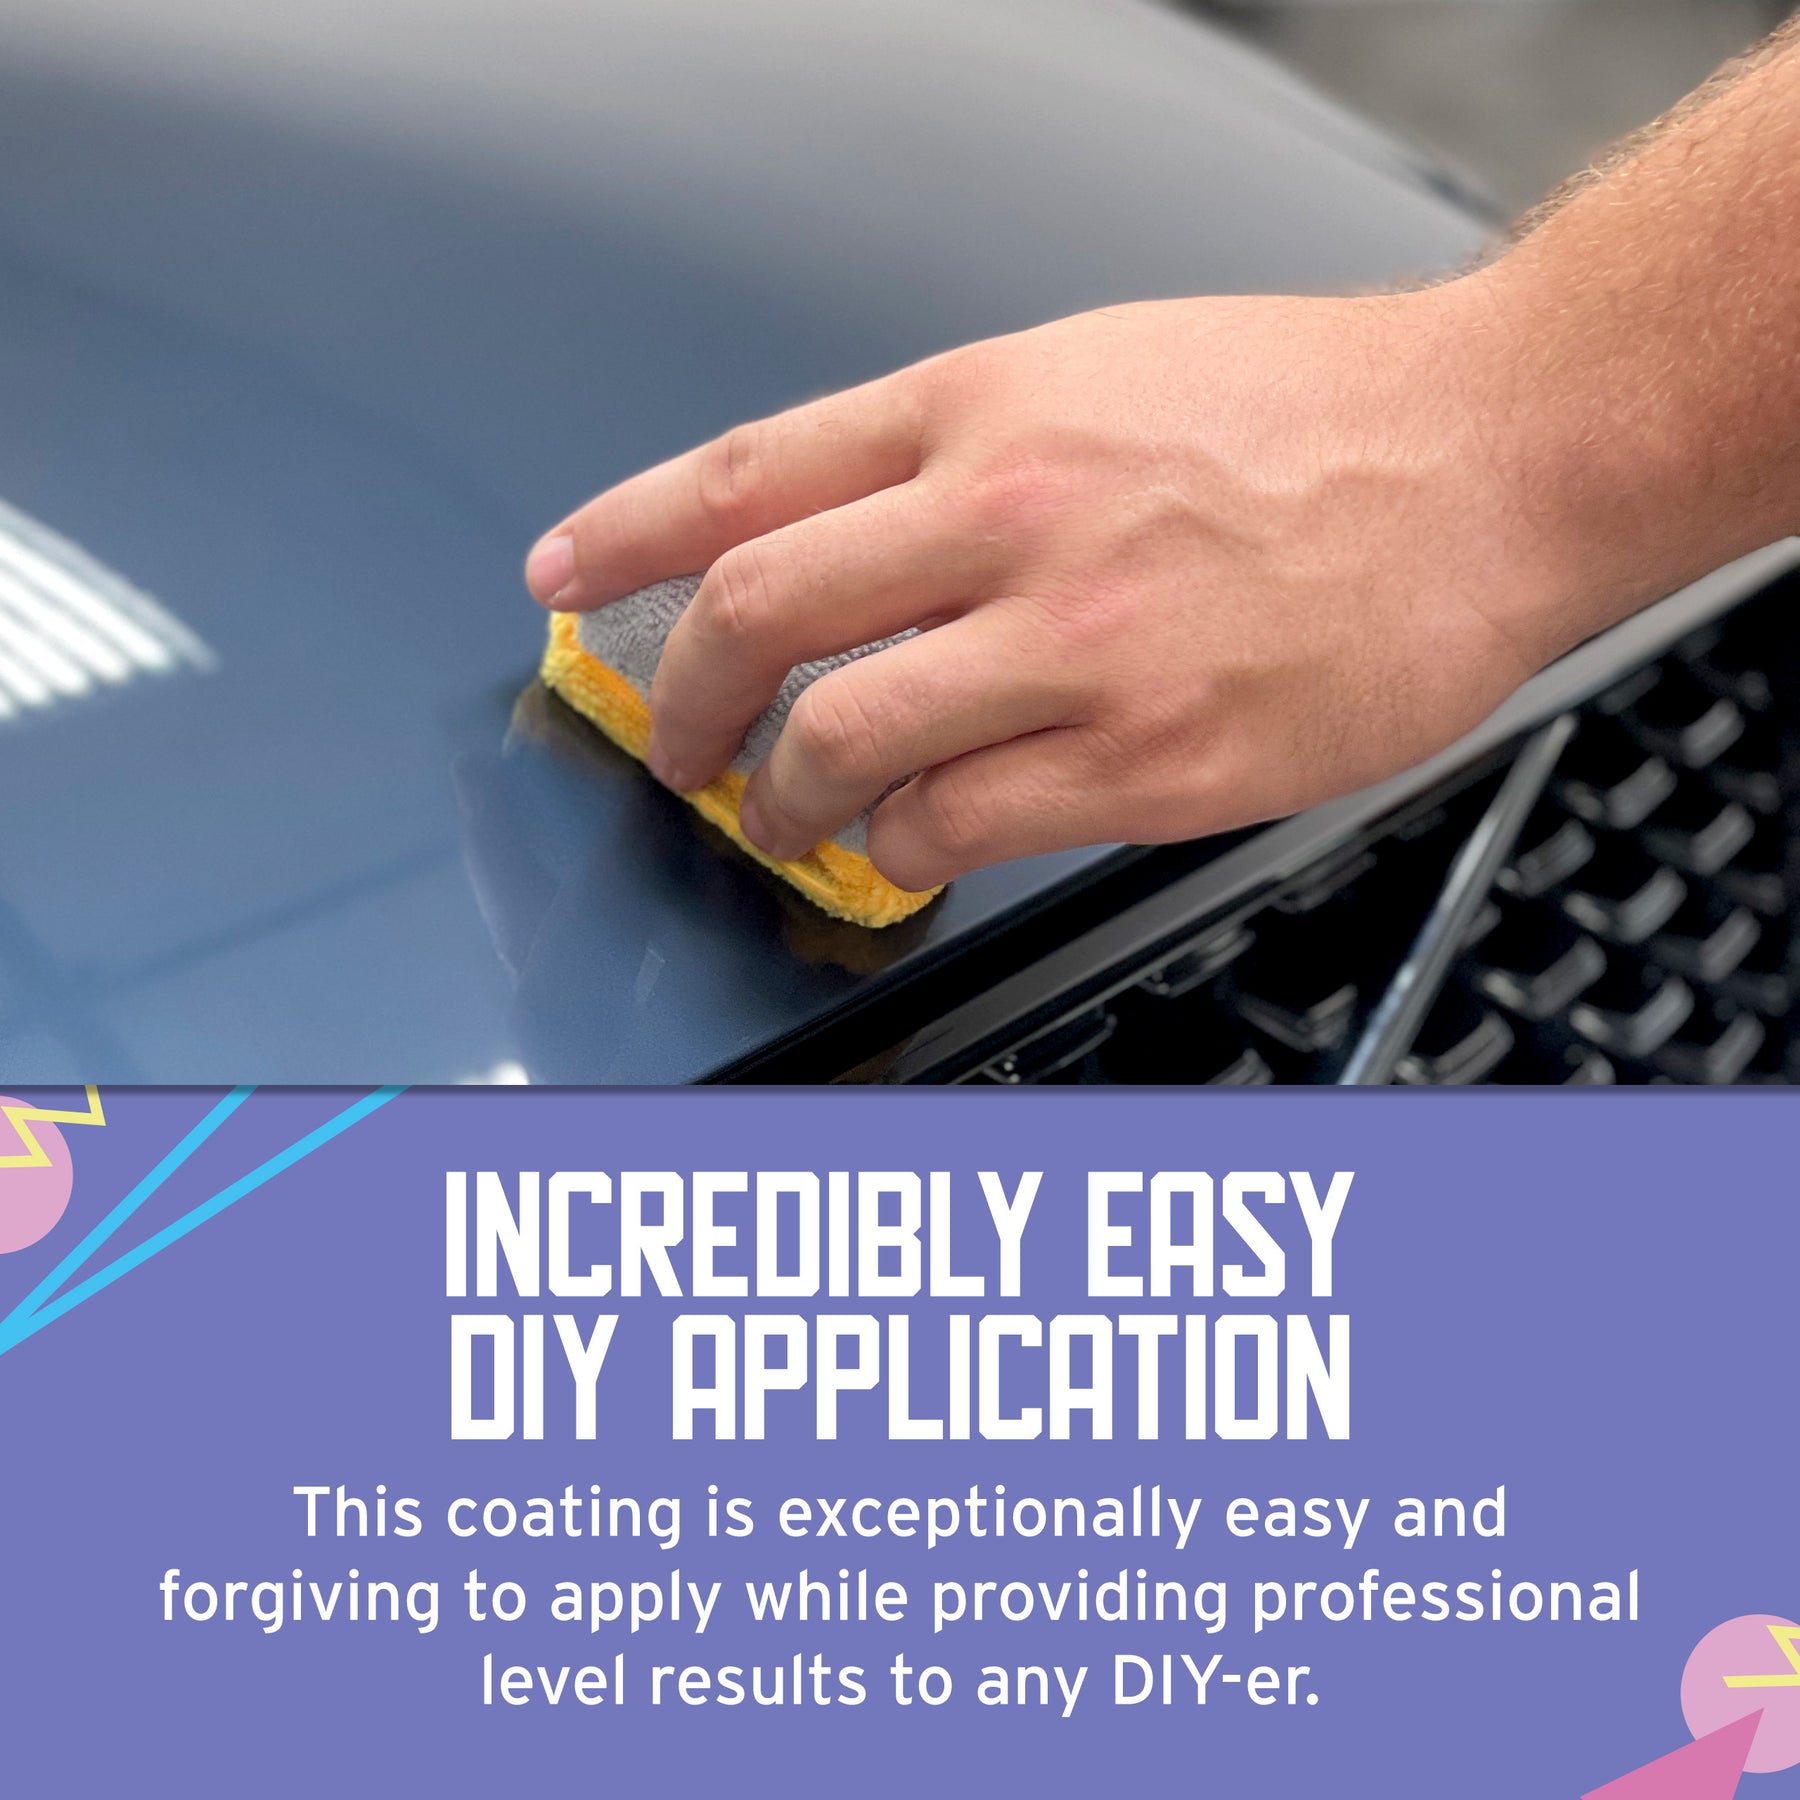
Shake the bottle well, then apply just a few drops of Ethos Ceramic Matrix to your applicator. Wipe it onto a smaller area, say 3’ x 3’, in straight lines that slightly overlap. You’ll feel it applying properly if the applicator glides smoothly. If it’s dragging, use a few more drops.
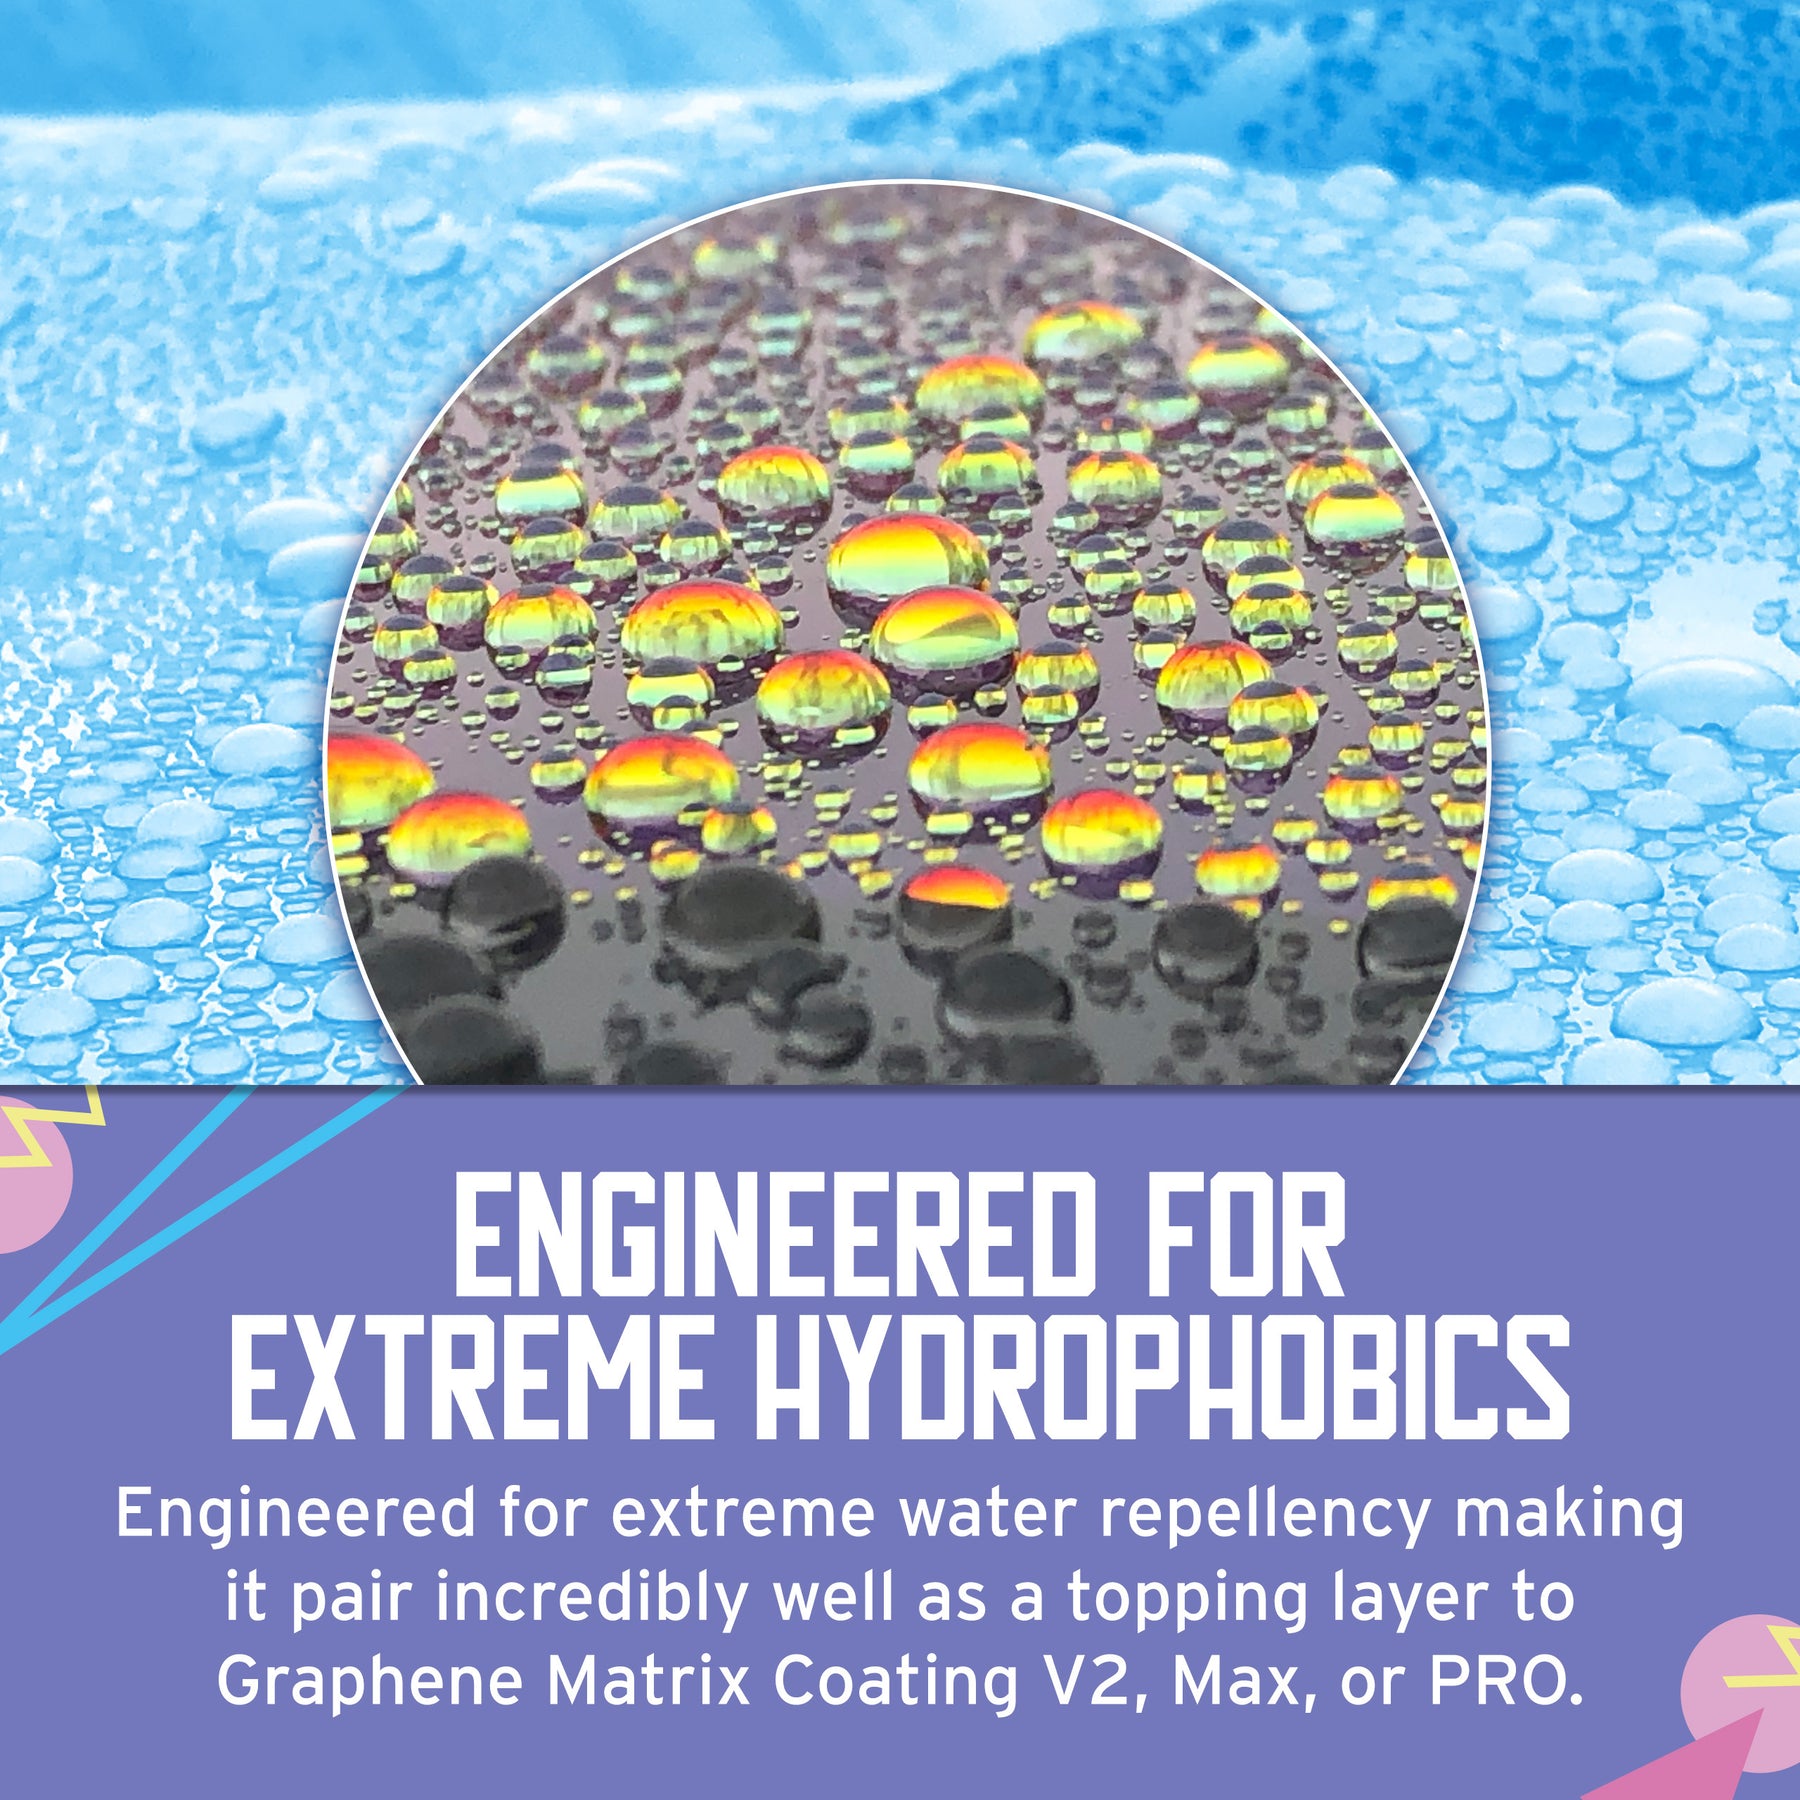
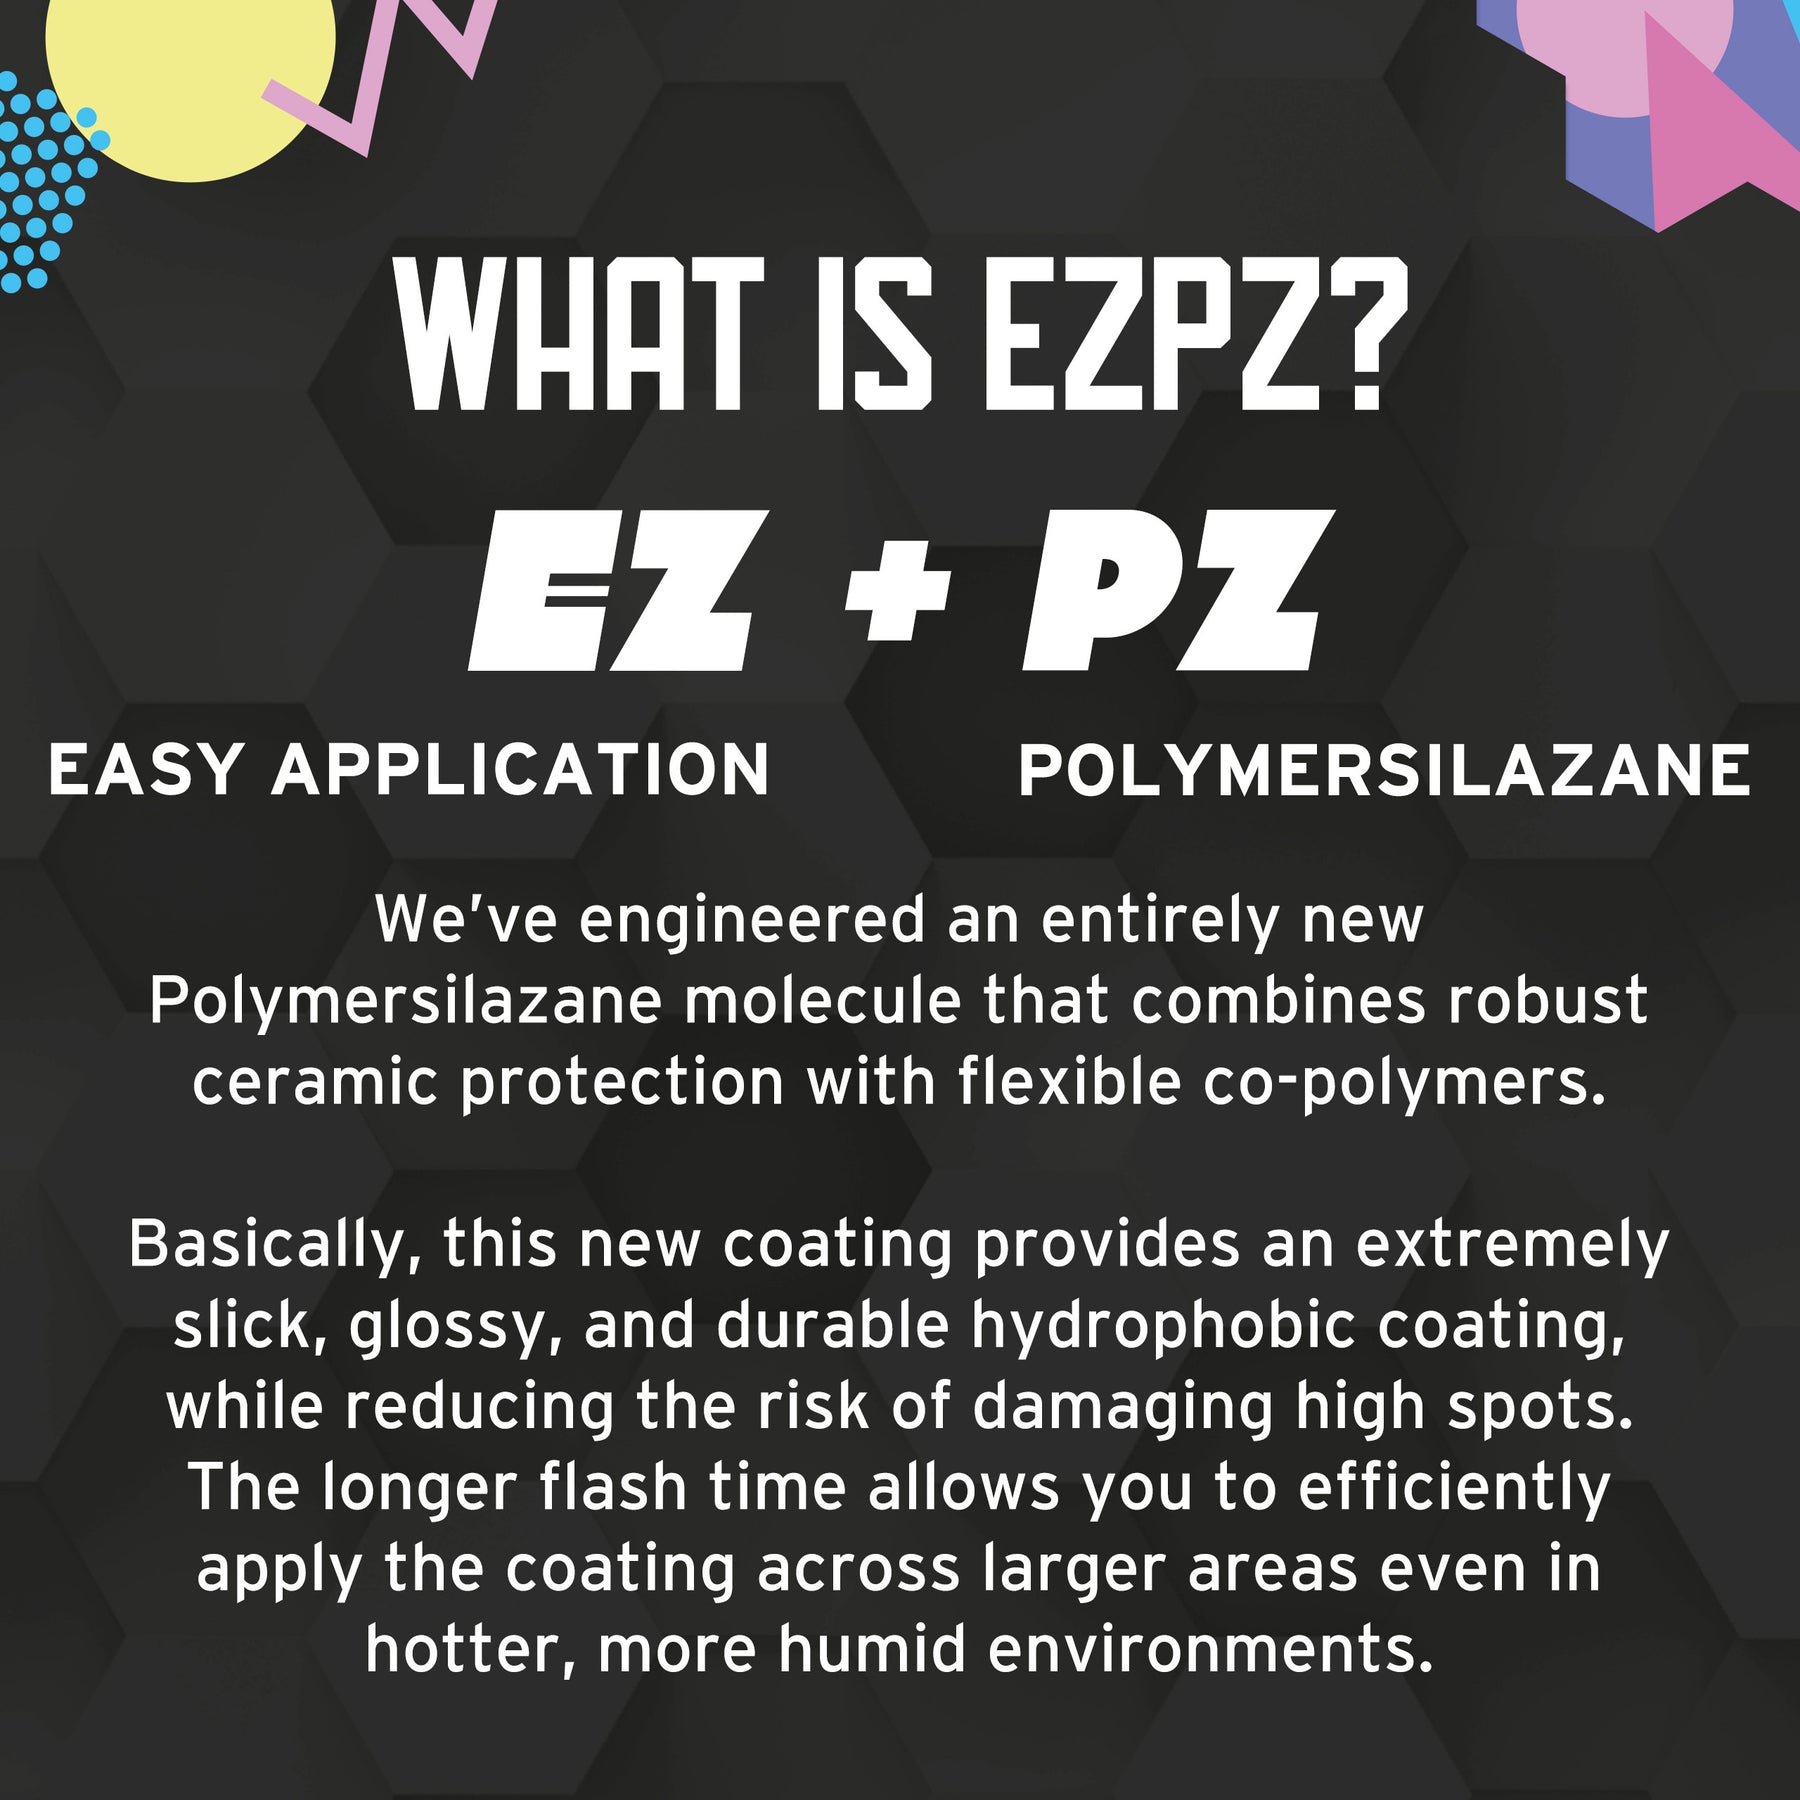
Right away, you’ll begin to see the “rainbow effect” as the coating bonds to the paint and begins to dry. It’ll turn hazy after between one and three minutes, with high-temp or high-humidity areas on the shorter end of the range. This is known as the flash time.
Wipe off

Wipe the area you’ve just applied in a circular pattern with little to no pressure, taking all the residue off the paint. Check your work with a work light or flashlight before moving on.
Repeat this process until the rest of your vehicle has been coated once. You could stop here, at one coat and you’d be admiring your mirror-like finish for a long time. But if you’re serious about trying to keep your car clean, have water droplets slip right off, and prevent sight scratches even better, then a second coating should be something you consider.
Step 3: Let it cure

It might look and feel like the ceramic coating is dry, but it hasn’t fully cured yet. In fact, you should protect it from getting wet for at least 48 hours after you wrap up the job. After two days, it’s safe to drive it and get it wet, but the ceramic coating will continue to harden for seven days or so.
Step 4: Keep it up

Although your car’s porous paint finish has been smoothed at the microscopic level and water and dirt don’t adhere like they used to, it’s going to get dirty again. Bird will continue to poop. Trees will continue to drip sap. The sun will keep beating down on it. Like oil changes for the engine, maintenance for your ceramic coating will keep it looking its best.
Washing your car with Ethos Ceramic Shampoo helps maintain the hydrophobic action that forces water to bead off, and ceramic resins fill in the surface. If your car just needs a spot clean or a touch-up, DEFY Ceramic Waterless Wash can be used safely to whisk away grease, dust, dirt and other junk.



6 comments
addison
great post! we spent some time outside detailing our truck and van while our carpet cleaners were inside. I’ve always wanted ceramic coating on my truck but was nervous to do it on my own until I read this blog. Thanks for the confidence! It turned out great! wish I could attach an image to show it off lol
great post! we spent some time outside detailing our truck and van while our carpet cleaners were inside. I’ve always wanted ceramic coating on my truck but was nervous to do it on my own until I read this blog. Thanks for the confidence! It turned out great! wish I could attach an image to show it off lol
mike butson
great information and video…
Questions:
1 ) do I do the same steps (clay bar etc..) to my headlights and should I apply ceramic to them?? Tail lights??
2) what about rims? should they be done too??
thanks
great information and video…
Questions:
1 ) do I do the same steps (clay bar etc..) to my headlights and should I apply ceramic to them?? Tail lights??
2) what about rims? should they be done too??
thanks
davenportmobilecardetailing
We recently started our new mobile car detailing company and came across this article.
Really appreciate you taking the time to educate us on this. We haven’t had much experience with applying ceramic coating, but this is a service we’d like to offer our clients at some point in the future.
Thank you for writing this article! We’ll definitely be using this as a point of reference in the future!
champaignmobilecardetailing
Hello! We just started our new mobile car detailing company and found this article.
Really appreciate you taking the time to educate us on this. Your advice on waiting for it to cure is useful since if you’re not careful and accidentally get your car wet, you’ll ruin the ceramic coating. It would be a shame to see all of the time and work that you spent detailing a car go to waste just like that.
There’s multiple steps to ceramic coating a car, but you did a great job breaking down the process down in an easy-to-understand manner. Thanks a ton!
eriemobilecardetailing
We recently started our new mobile car detailing company and came across this article.
Really appreciate you taking the time to educate us on this. I didn’t consider how much prep is required before you apply any ceramic coating. However, this makes perfect sense as even new cars have traces of dirt and grime surprisingly.
Ceramic coating is such a unique enough step within the exterior detailing process; however, you did a great job breaking down the essential steps on how to apply it. Thanks a ton!
Jody Love
Flash time between 1st and 2nd coat?
Flash time between 1st and 2nd coat?