How To Wash A Car For Beginners
When it comes to washing a car, you may think it’s a fairly basic task — or you might be intimidated if this is your first new vehicle. Either way, improper washing and incorrect drying methods are the two main causes of swirl marks, scratches, and other imperfections in a vehicle’s paint finish. In this guide, we’ll outline proven steps to safely wash a car and keep things effective and easy for beginners.
Step 1: Gather Supplies
Before you jump into washing your car, gather and prepare everything you will need for the wash. Spending a little extra time organizing your supplies first will save you time throughout the washing and drying process — you won’t be running around grabbing mitts and towels while strong wheel cleaners sit on your surfaces.
The amount of supplies you’ll need depends on how thorough you want to be, but here are the key basics for a proper, scratch-free wash:
- Two buckets with grit guards — one for soap, one for rinsing your mitt
- Hose and spray nozzle (or pressure washer)
- Wheel cleaner and wheel brush
- pH-neutral car wash shampoo — never dish soap
- Wash mitt — microfiber, not a sponge
- Microfiber drying towels
- Detail spray (optional, for finishing)
It’s critical to use a vehicle-specific pH-neutral shampoo when washing. Household soaps and dish detergent are designed to cut grease — they will strip any wax, sealant, or ceramic coating from your paint, which then makes water spots form more easily.
Set everything out before you start. Once wheel cleaner is on a wheel, you don’t want to be hunting for your brush.
Step 2: Clean Wheels And Tires First
Before you put any water to the vehicle panels, start by cleaning the wheels and tires. We recommend cleaning wheels first for two reasons: they are the dirtiest part of your car (brake dust, road grime, tar), and cleaning them first means any splash-back lands on a car that hasn’t been washed yet — so you’re not getting dirty water onto panels you’ve already cleaned.
Make sure the wheels and tires are cool to the touch. If you just drove the vehicle, the heat will cause cleaners to dry too quickly, which can cause etching or staining on the wheel surface. Only clean one wheel and tire at a time — don’t apply wheel cleaner to all four and then go back, as the product can dry out.
Spray your wheel cleaner generously onto the tire sidewall, wheel face, and inner barrel. Let it dwell for 30–60 seconds. Then use a dedicated wheel brush to agitate and scrub — never use the same mitt or towel you use on the paint. Rinse thoroughly starting from the top of the fender well and working downward.
Use a separate bucket just for wheels. The brake dust and grime you’re rinsing off should never touch your paint wash water.
Step 3: Pre-Rinse (Or Pre-Foam) The Car
Before your mitt ever touches the paint, you need to remove as much loose dirt as possible. You have two options here — a standard hose rinse or a foam cannon pre-soak — and both work well depending on your setup.
Standard hose rinse: Fill the Rinse Bucket with about 3.5 gallons of clean water, with a grit guard inserted at the bottom. Fill the Soap Bucket with about 2 gallons of water and 1–2 oz of shampoo. Begin rinsing from the roof and work top-down so dirt and debris moves downward. Rinse areas in the shade first, direct sun last, to minimize water spotting.
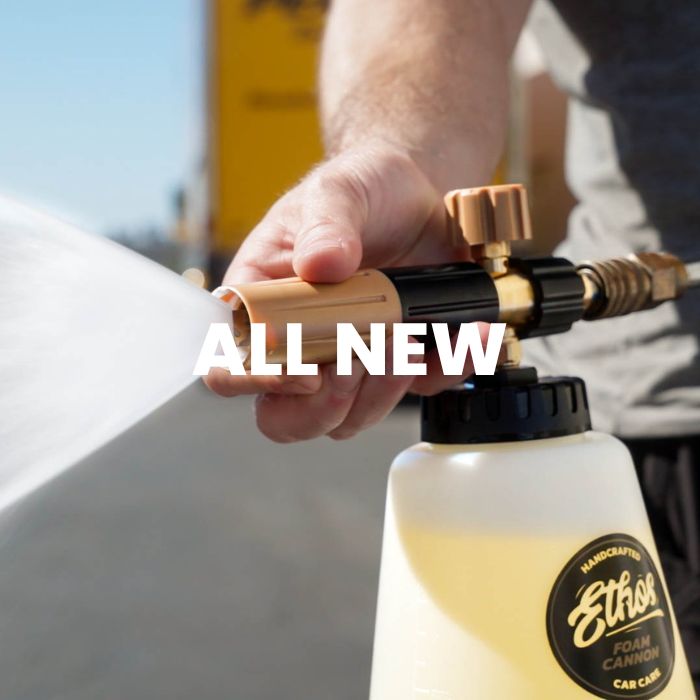
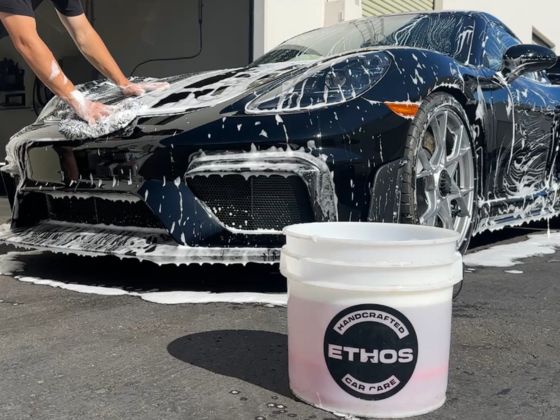
Foam cannon / pressure washer: If you have a pressure washer, this is where a foam cannon earns its place. Load 1–2 oz of a dedicated foam soap into the cannon reservoir, fill the rest with water, and coat the entire vehicle from top to bottom in thick foam. Let it dwell for 60–90 seconds — the foam clings to the surface and breaks down dirt before you wash. This pre-soak dramatically reduces friction during the contact wash and is one of the best things you can do to prevent swirl marks. Rinse off thoroughly before moving to Step 4.
A thorough pre-rinse or foam soak removes loose dirt before your mitt ever touches the paint. Skipping this step is one of the most common causes of wash-induced scratches.
Step 4: Wash The Car
Wash the car from the top down using your soapy wash mitt. Start with the roof, then windows, upper panels, doors, and finish with the rocker panels and lower sections last — these are the dirtiest areas and should be cleaned last to avoid dragging that grit back up to cleaner panels above.
This is where the two-bucket method matters most. After washing each panel, rinse your mitt in the clean Rinse Bucket before reloading with soap from the Soap Bucket. The grit guard at the bottom of your rinse bucket traps the dirt so it doesn’t transfer back. Without this, you’re using a progressively dirtier mitt on your paint — that’s exactly how swirl marks are created.
Wipe panels in straight back-and-forth lines rather than circles. Circular motion creates circular swirl marks; straight lines are far less visible if a mark does appear. Leave the soap residue on each panel after washing it — don’t rinse section by section. A pH-neutral shampoo like Pure Car Shampoo won’t damage the surface if it begins to dry, and rinsing everything at once at the end gives you better coverage.
Don’t scrub hard on bug guts or bird droppings — you’ll grind them into the clear coat. Soak them first with a damp towel or detail spray, let them soften, then wipe gently.
Step 5: Rinse The Car Again
After washing the entire car, rinse thoroughly from the top down. Rinse areas in the shade first, then move to the sunny areas last — this keeps hard water from sitting and drying on any single spot for too long. Make sure you’ve rinsed all areas that can trap soap residue: door handles, grilles, mirrors, cooling vents, fuel door edges, and lower trim.
On the final rinse, try a “sheeting rinse” — hold the hose parallel to the panel and let water flow gently over the surface rather than hitting it with a jet. Water sheets off in large sections, reducing the amount of standing water you need to dry and minimizing water spot risk.
This is also a great moment to apply a drying aid. After the final rinse and while the car is still wet, mist Detail Spray onto each panel before you dry. It lubricates the surface so your drying towel glides without marring, eliminates water spots before they form, and leaves a slick, glossy finish behind. One panel at a time — spray, then dry.
Leave your doors cracked slightly during the rinse so water doesn’t pool in door jambs — a common spot people forget that can slowly cause rust.
Step 6: Dry The Car
Dry the car quickly after the final rinse. Water spots form when water evaporates and leaves behind dissolved minerals — the longer standing water sits on your paint, the higher the chance of spotting, especially in hard water areas. Start drying immediately and work methodically, section by section, from the top down.
Use a large, plush microfiber drying towel and blot or drag in straight lines — never circular motion. Fold the towel to a fresh side as it gets saturated. Never use a chamois, squeegee, or regular household towel on painted surfaces — all three will scratch. A dedicated microfiber towel at 400+ GSM glides safely across clear coat without marring.
For an easier dry with even better results, mist a light coat of RESIST or a detail spray onto each panel as a drying aid before wiping. It lubricates the surface, makes your towel glide faster, and leaves a protective layer behind with each wipe.
Open the doors after drying and wipe the jambs, door edges, and trunk lid. These spots are often forgotten and can drip onto your freshly dried paint.
Step 7: Finish With Paint Protection
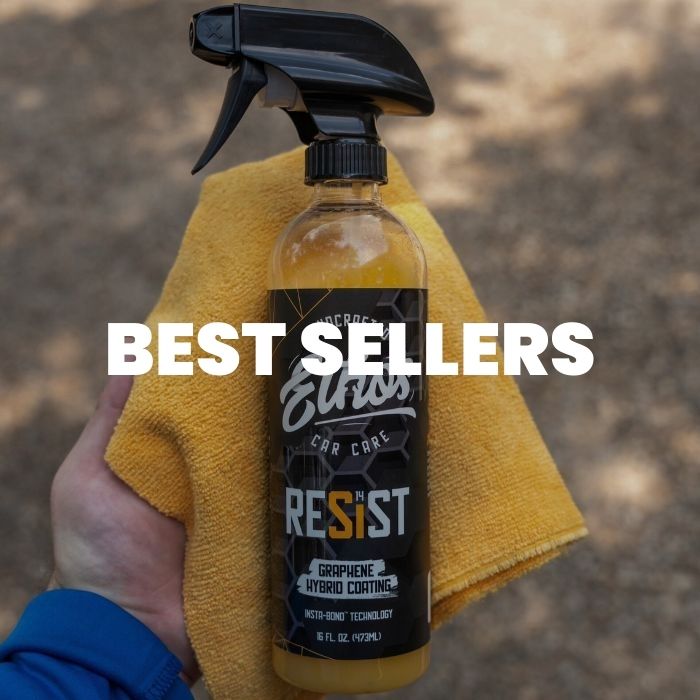
Your car is now clean and dry — this is the best possible moment to apply paint protection. Fresh, decontaminated paint is the ideal surface for a coating or sealant to bond to. If you’re using a graphene spray coating like RESIST, this step takes about 10 minutes and protects your paint for 12+ months.
Simply spray RESIST panel by panel, spread with a clean microfiber applicator pad, and buff off with a clean microfiber towel. That’s it. The graphene chemistry bonds to the paint surface and creates a hydrophobic barrier — meaning water, bird droppings, tree sap, and road grime have a much harder time bonding to your paint. Your next wash will be dramatically faster and easier because nothing sticks to a coated surface.
If you’re not ready to coat yet, a quick spray of detail spray as a final wipe-down adds a light layer of gloss and protection and leaves the paint looking sharp. For best detailing results, finish with tire dressing on the sidewalls and a glass cleaner on the windows.
You don’t need to apply RESIST after every wash — once or twice a year is enough. But every wash you do on a coated car is faster, which is the real payoff.
You Just Washed It Perfectly. Now Protect It.
RESIST Graphene Spray Coating bonds directly to clean paint — takes 10 minutes, lasts 12+ months. Makes every future wash faster because nothing sticks to a coated surface.
See How RESIST Works →7 Car Wash Mistakes That Scratch Your Paint
Soap flash-dries on hot paint, leaving residue and water spots baked into the surface. Always wash in the shade or in the early morning.
Designed to strip grease — they strip your wax, sealant, and coatings too. Always use a pH-neutral car shampoo.
Sponges trap dirt and debris against the paint surface with every wipe. Microfiber mitts lift and hold particles away from the surface.
Without a separate rinse bucket, you reload your mitt with dirt every time you dip it. That dirt then gets dragged across your clear coat.
Circular swirl marks are the most visible type of paint marring. Straight lines are far less visible under lighting. Always wipe in one direction.
Touching dry, dusty paint with a mitt — even a clean one — scratches the surface. A thorough rinse before washing removes loose abrasives first.
Chamois and terry cloth towels drag abrasive fibers across clear coat. Only use a dedicated plush microfiber drying towel at 400+ GSM.
Frequently Asked Questions
How often should I wash my car?
Every two weeks is the standard recommendation for most climates. If you park outside, live near the coast, or drive in areas with road salt in winter, wash more frequently. Salt and bird droppings are especially damaging — bird droppings are acidic and can etch clear coat within hours in hot weather, so rinse those off within 24–48 hours whenever possible.
Can I use dish soap to wash my car?
No. Dish soap is designed to cut grease and will strip any wax, sealant, or coating you have on the paint. It can also dry out rubber trim and door seals. Always use a pH-neutral car shampoo specifically formulated not to strip paint protection.
What is the two-bucket method?
The two-bucket method uses one bucket of soapy water for washing and a separate bucket of clean water for rinsing your mitt between panels. After washing each panel, dunk your mitt in the rinse bucket first — a grit guard at the bottom traps the dirt — then reload with soap and move to the next panel. This is the single most effective technique for preventing wash-induced swirl marks.
How do I avoid swirl marks when washing?
Use a microfiber wash mitt (not a sponge), use the two-bucket method, pre-rinse all loose dirt before touching the paint with your mitt, wash in straight lines rather than circles, and make sure your mitt is clean and free of trapped particles.
Is it OK to wash my car in winter?
Yes — and it’s actually more important in winter. Road salt accelerates rust and can damage paint and rubber seals if allowed to sit. Wash regularly in winter, paying extra attention to the undercarriage, wheel wells, and lower panels where salt accumulates most heavily.
Should I wax or coat my car after washing?
You don’t need to wax after every wash — but applying a graphene spray coating like RESIST once or twice per year means water beads off after every wash, contaminants don’t bond to the paint, and each wash is faster and easier. It’s the most efficient way to maintain your paint between washes.
What's the best way to dry a car without scratching it?
Use a large, plush microfiber drying towel (400+ GSM) and blot or drag gently in straight lines. Work top to bottom. Never use a chamois, squeegee, or terry cloth on paint. A light mist of detail spray as a drying aid lubricates the surface and makes the towel glide without marring.
Summary
You’re now ready to sit back and admire a clean car — or get out there and drive it. Proper washing is the foundation for all other detailing work. If you don’t have the wash technique down, improper products and methods will cause more damage to the finish over time than any road grime would.
Washing a car may seem a little involved at first, but after a few washes it becomes second nature — and a clean, protected car is genuinely satisfying to maintain. If you have questions about any product or process, reach out to us directly through the site. We’re a small team of detailing nerds and we’re happy to help.