
Table of Contents
How to Prep for Application
-
Clean any loose dust, dirt, and contaminants from the surface.
-
Clay bar any rough embedded contaminants from the surface to ensure no impurities interfere with the properties of the coating.
-
Polish/Compound to remove any paint defects in the form of scratches, swirl marks, and oxidation. Graphene Professional V2.0 is a semi-permanent coating so once applied any defects will remain sealed underneath.
-
Deep clean any polish oils or residues from the surface that could inhibit the bonding process using Ethos Detox.
-
Remove any residual water that can be hiding underneath panel gaps, headlights, or taillights which could drip out and affect the coatings curing process.
Installation Notes
Temperature and humidity can play a big factor in “flash” time (Time between application and when the coating is ready to be wiped off). We recommend applying in temperatures between 65-75*. In higher temperatures flash time will be expedited so first test using a small section to determine workability before moving onto the rest of the vehicle.
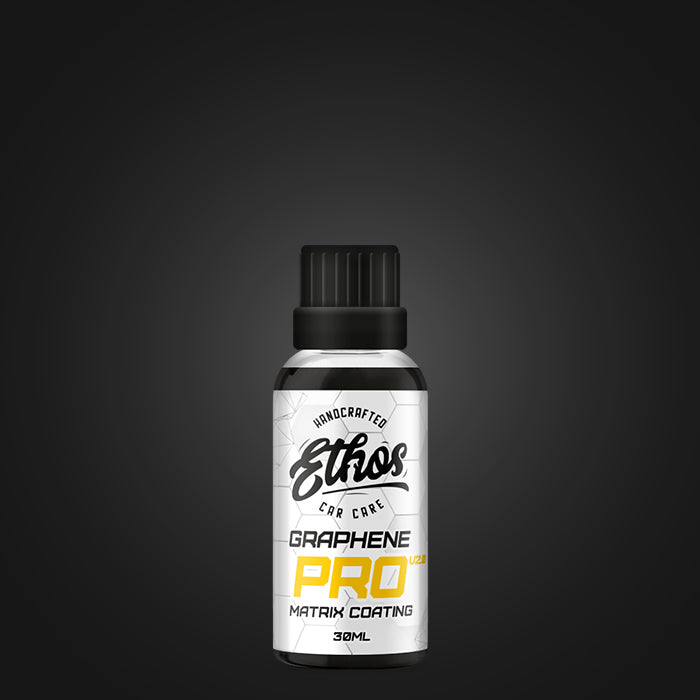
Graphene Professional V2.0 can be applied to any painted, plastic, or glass surface (including windshield).
How To Apply
Make sure the surface has been completely cleaned and decontaminated with Ethos Detox. The cleaner the surface, the better the bond!
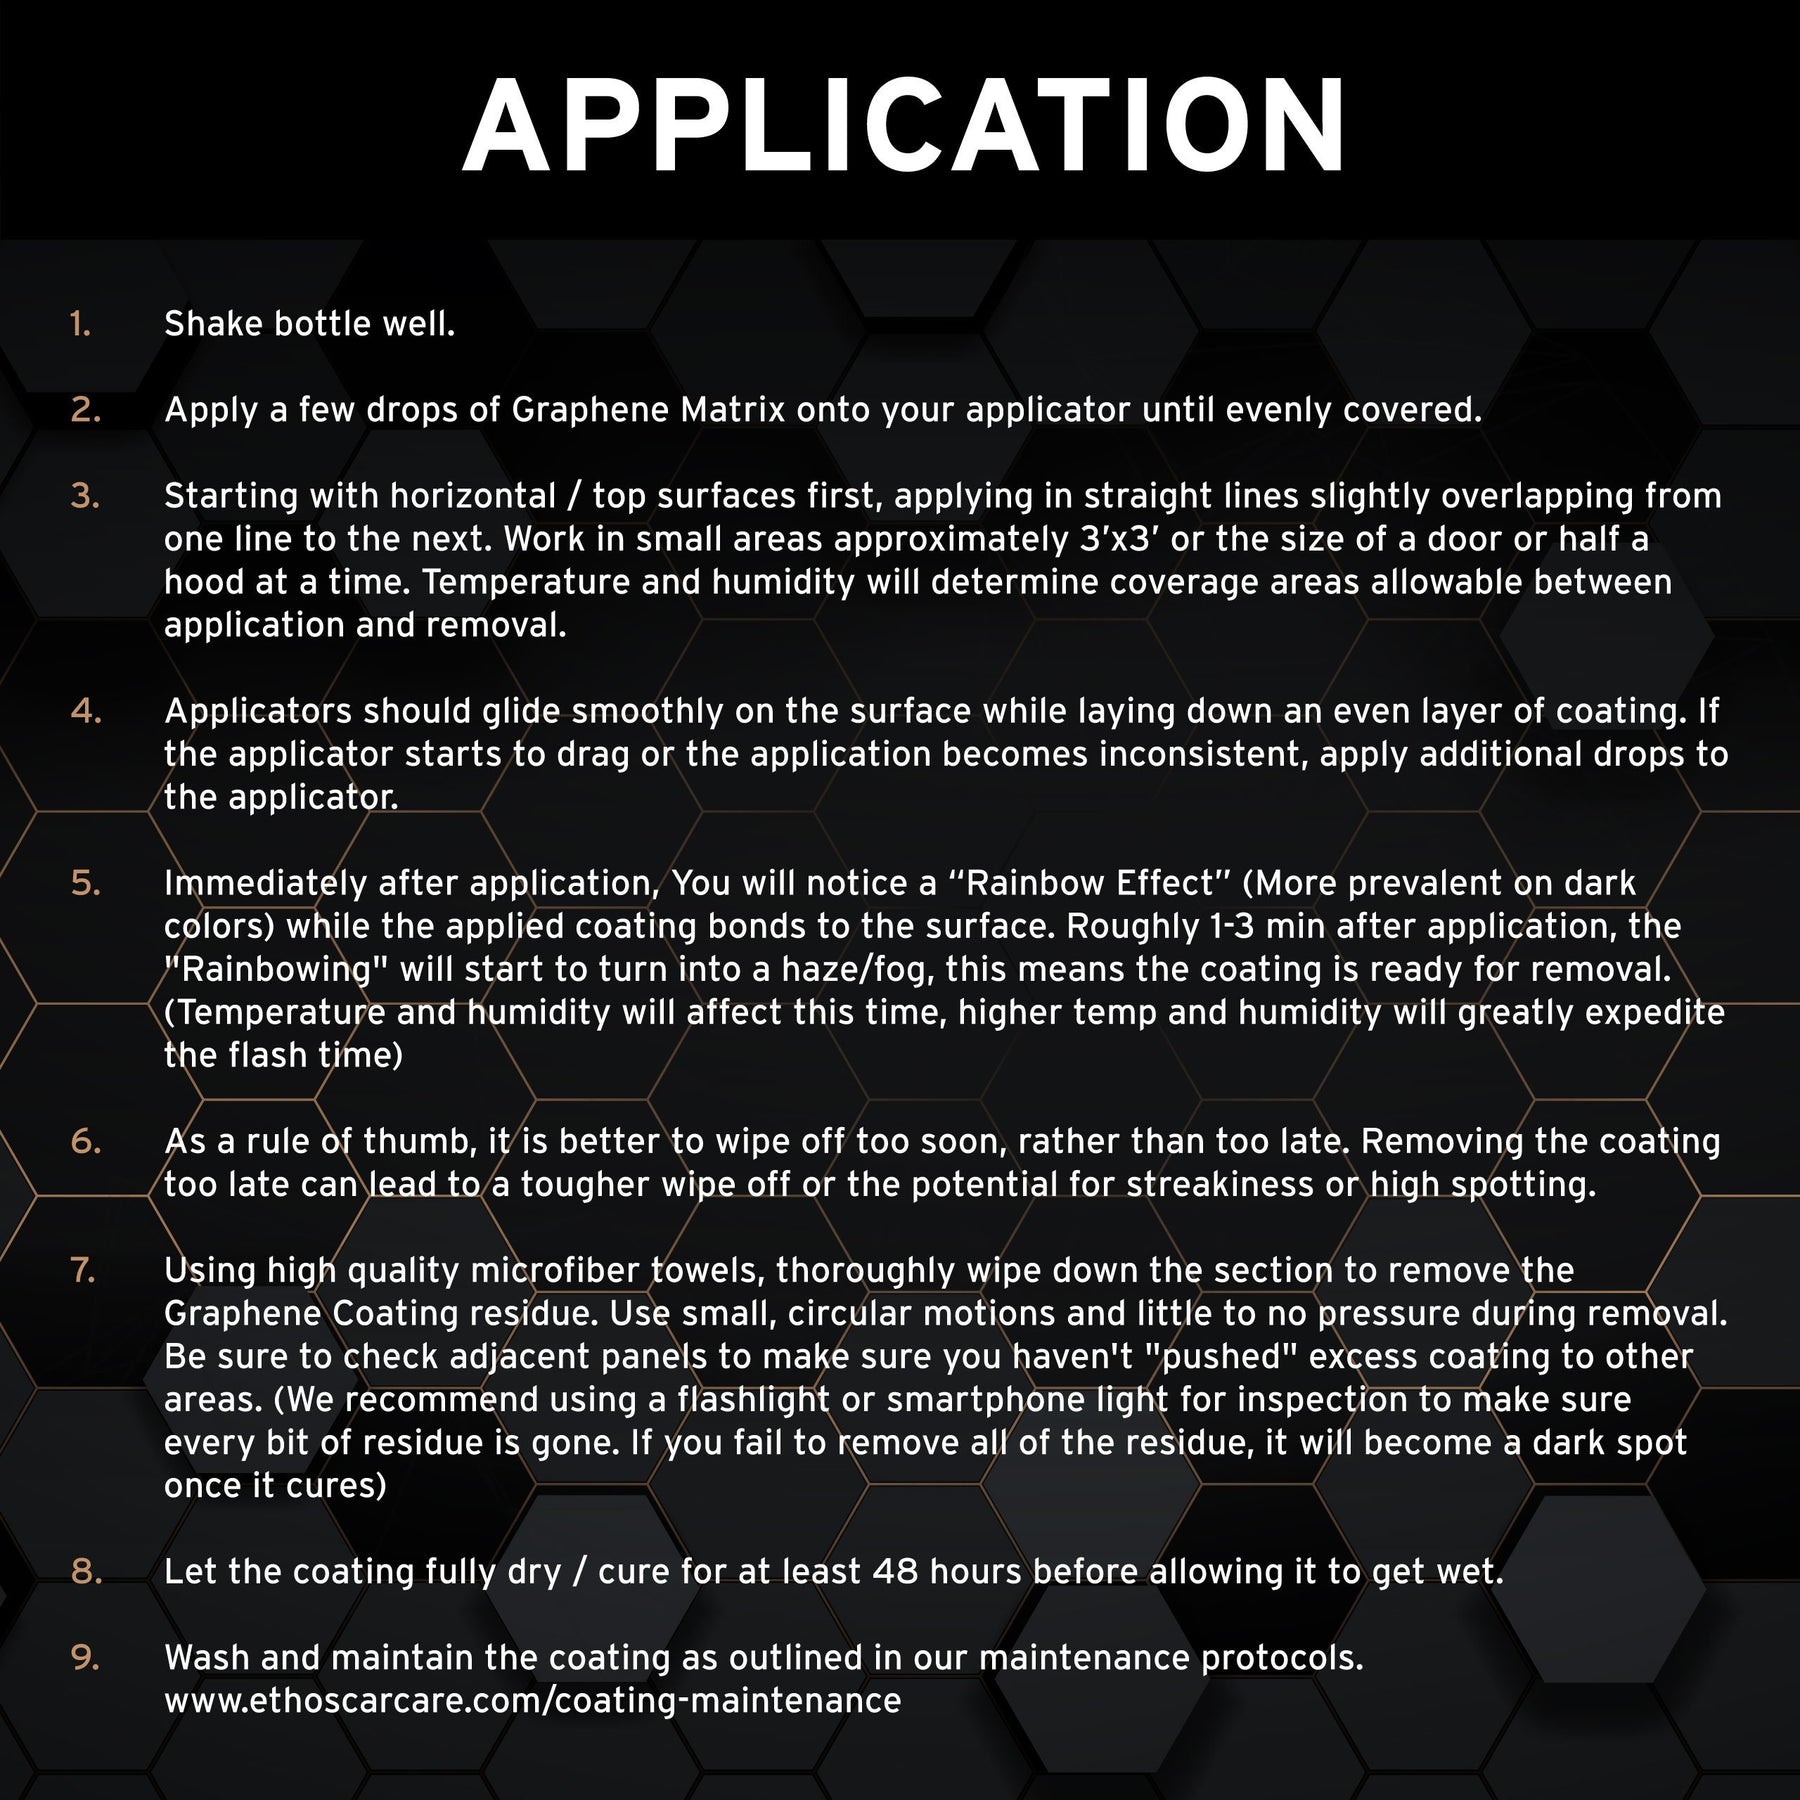
- Shake bottle well.
- Apply a few drops of Graphene Professional V2.0 onto your applicator until evenly covered.
-
Starting with horizontal/top surfaces first, applying in straight lines slightly overlapping from one line to the next. Work in small areas approximately 2'x2' or the size of a door or half a hood at a time. Temperature and humidity will determine coverage areas allowable between application and removal.
-
Applicators should glide smoothly on the surface while laying down an even layer of coating. If the applicator starts to drag or the application becomes inconsistent, apply additional drops to the applicator.
-
Immediately after application, you will notice a “Rainbow Effect” (More prevalent on dark colors) while the applied coating bonds to the surface. Roughly 45 seconds - 1.5 min after application, the "Rainbowing" will start to turn into a haze/fog, this means the coating is ready for removal. (Temperature and humidity will expedite the flash time. Test a small area first before continuing onto the rest of the vehicle)
-
Using premium microfiber towels (Preferably our Edgeless Towels), thoroughly wipe down the section to remove the Graphene Coating residue. Your first wipe should remove about 80% of the residue, and your second wipe should easily remove the remainder. Use small, circular motions and little to no pressure during removal.
-
IMPORTANT: Be sure to check adjacent panels to make sure you haven't "pushed" excess coating to other areas. (We recommend using a flashlight or smartphone light for inspection to make sure every bit of residue is gone. If you fail to remove all of the residues during the flash time, it will become a dark spot once it cures and can require polishing or compounding to remove) So be thorough and continue to check your work before moving on to the next step.
-
Repeat these steps as you move along the rest of your vehicle. Coating the paint, plastics, trim, and glass surfaces in the same manner. When layering one-hour minimum is required between coats.
-
Let the coating fully dry/cure for at least 48 hours before allowing it to get wet. The longer it stays dry the better, as it will continue to cure for about 5 days (you CAN drive the car during this time).
Wash and maintain the coating as outlined in our maintenance protocols. ethoscarcare.com/coating-maintenance